


Meet the Artist Responsible for the Rebirth of Intarsia
The artist largely responsible for the rebirth of intarsia, Judy Gale Roberts began creating intarsia with her father, Pat Dudley Roberts, around 1974. The two designed custom wood murals, among other artwork, for some of their clients.
In 1984, Jerry Booher came on-board, and Judy began to design and create one-of-a-kind pieces on a smaller scale for private collections. Jerry, a tool and die maker before switching careers, studied and refined the process that Judy and her father used and became an expert on the scroll saw. It was also in 1984 that Jerry sent pictures to the National Woodcarvers Association asking if they knew of a name for this technique of woodworking. The Association wrote back with the name “intarsia,” stating that the only place they had seen it was in Italy.
Throughout the 1980s, Judy and Jerry attended juried shows and won a number of ribbons for their intarsia work. In the process of competing in shows, the two began to educate and expose the world to the art form called intarsia. Judy has continued promoting intarsia even after Jerry’s death in 2016.
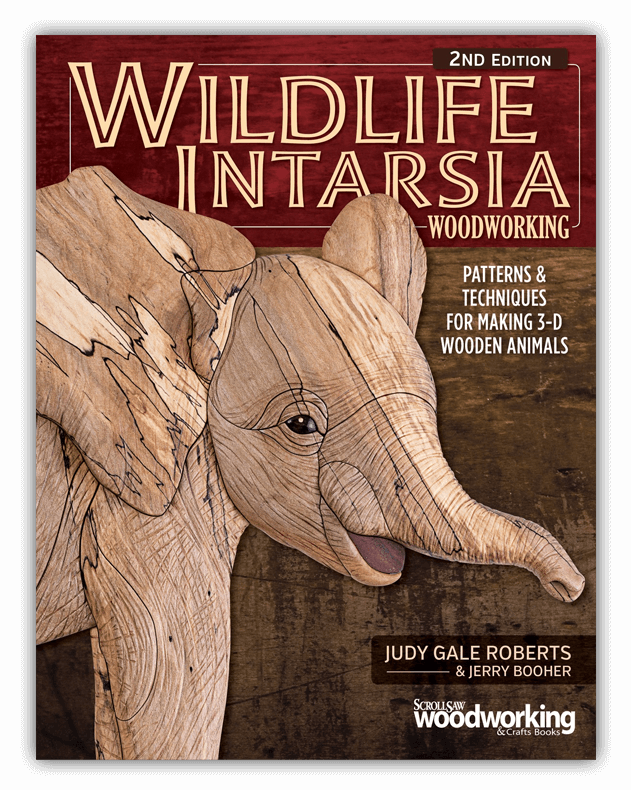
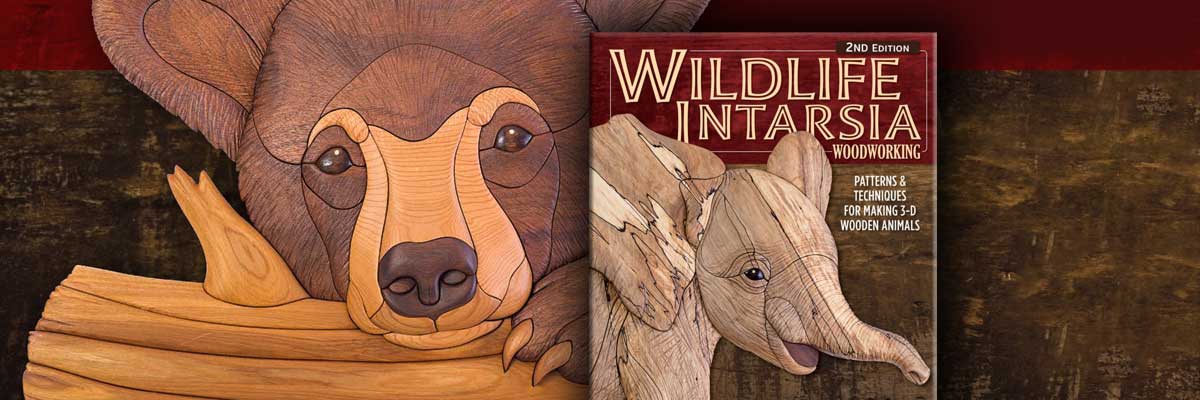
Wildlife Intarsia Woodworking, 2nd Edition
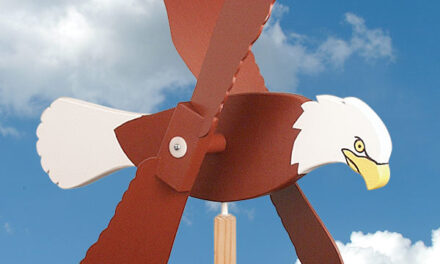
Learn the secrets of creating fascinating 3-D wooden inlay projects, with 14 exciting portraits of popular wildlife. Includes step-by-step intarsia demonstrations for a Bald Eagle, a Wild Mustang, and a Bull Moose.
We strive to make our patterns the best they can possibly be.
~ Judy Gale Roberts
About Judy
In 1997, Judy was the first woman and one of the first 10 people to be inducted into Wood magazine’s Woodworking Hall of Fame. Her work has been featured in Wood magazine, Scroll Saw Woodworking & Crafts magazine, and Patrick Spielman’s The Art of the Scroll Saw.

At present, Judy teaches beginner, intermediate, and advanced intarsia classes. The pattern business continues to grow, and now more than 500 intarsia patterns are available, including 20 different “classroom in a tube” (patterns with in-depth instructions) for people who cannot make it to the foothills of the Smoky Mountain in person to take a class.
Judy Gale Roberts and Jerry Booher have compiled their work and tutorials into the book Wildlife Intarsia Woodworking: Patterns and Techniques for Making 3-D Wooden Animals. This September 2017 it was re-released as a second edition.
10 Intarsia Tips by Judy Gale Roberts
Prepare the Pattern
Before you start working on any project, study the pattern. This is a good habit to learn; the ability to anticipate problems will make your work more enjoyable.
Use a Glue Machine
A Xyron Creative Station glue machine allows you to place a pattern in the slot and crank the handle, and the pattern comes out the other end with clear acetate on top and adhesive on the back.
Choose Wood That Works for You
Use whatever wood you have on hand if you are just starting out. It will take some time to build up an inventory of various shades of wood. Going through the motions will give you more experience, so do not let “I don’t have the right kind of wood” stop you from gaining more
knowledge through practice. Whatever wood you do choose, make sure that the lumber is dry. A moisture meter is a good investment.
Remember Your Hand Tools
We use a few hand tools when we are sawing. We use a small square to check the parts to see if the cut is square to the bottom. We use a sander of some kind to remove the burr, or tear out, on the bottom side of the piece being sawed Last, but not least, we use a wooden craft stick to hold the pattern down should it start to come off as we are sawing.
Other Intasia Titles
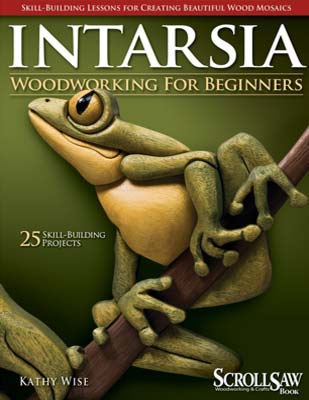
Intarsia Woodworking for Beginners
Learn the art of intarsia with celebrated artist and instructor Kathy Wise in this skill building guidebook filled with step-by-step instructions, basic lessons and concepts, and helpful techniques
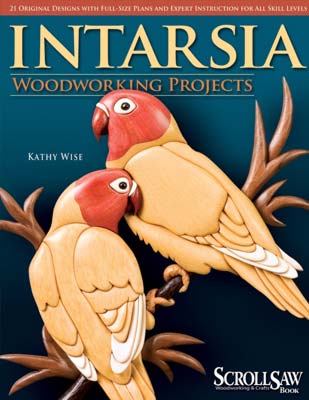
Intarsia Woodworking Projects
21 full-size patterns ranging from beginner to expert. Includes step-by-step tutorial to get you started with in depth information on shaping.
Choosing Plain-End Vs Pin-End Scroll Saw Blade
You’ll want to note whether you need pin- or plain-end blades. The type of saw you have will determine the type of blade that you need. Saws that accept pin-end blades have a slot where the pin sits. Saws that accept plain-end blades have clamps that grasp the ends of the blade. Some saws will accept both types of blades.
Selecting a Blade Size
The blade size you choose is based on the thickness of the material that you’re using and on the size of kerf (the slit made by cutting) that you want. Normally, we use a #5 blade to saw wood that is 3/4″ (1.9cm) thick or less. For thicker material, we use a #7 blade. To slice up a larger section, like the beak, into smaller pieces, we cut around the perimeter of the part with a #5 blade. Then, we use a smaller blade, such as a #2 / 0 or #1, depending on the wood we are cutting, to cut the individual pieces. You lose less wood because the smaller blades have a smaller kerf, which makes the parts fit better.
Check for a Fit
Once you have finished cutting but before you remove the pattern, look over the project to see if everything is fitting properly. Any line work that shows on the pattern may reveal a problem with the fit. If there is line work evident and there is a fit problem, mark that part and trim it with the saw. We use a new, sharp blade in the scroll saw to trim
any parts.
Prepare Before Sanding and Shading
Before you begin sanding and shaping, take a minute to study the project again. We like to get a general idea of how we will tackle the project. It is best to rough-in the entire project and then go back and add the details as needed. Start by lowering background parts, or the parts that would be the farthest from the viewer. To determine which parts are farthest from the viewer, note which parts are behind other parts. For instance, on an animal that is facing sideways, one of the ears
would be behind the head. Use the photos of the finished pieces to guide you.
Add Texture
We often use a tool called the Wonder Wheel to add texture to intarsia projects (or any woodworking project). The wheel works well with both soft- and hardwoods. It will carve and burnish the wood in one stroke. The more pressure you apply, the more it will burn. The wheel looks as if it is as hard as stone, but it has some give to it. If you don’t have a Wonder Wheel, you can use a V-shaped carving tool to gouge out the texture.
Be Cautious When Applying Finish
Before you apply the finish, be sure to read and follow the manufacturer’s recommendations and cautions for applying the product. There are many finishes on the market today as well as many techniques for applying them. It’s best to research first!
Get Exclusive Email Offers And Receive 15% OFF On Your First Book Order!
Authors Jerry Booher & Judy Gale Roberts
Judy enjoys teaching intarsia classes in the foothills of the Smoky Mountains in the spring and fall. She presents Intarsia seminars throughout the country.

Recent Comments