


Whittling Wood Like a Pro
From stop and push cuts to wood and knife choices, the whittling terminology and resources can make you dizzy. For a complete beginner or an expert looking for an insider tip, we broke down the basics for you with these 10 whittling tips and tricks below.

Fun Things to carve from Wood
Author Tom Hindes demonstrates his easy-to-learn, quick-cut method for whittling expressive little figures from wood in just 20 minutes or less. With his friendly instructions and step-by-step photos, you’ll learn to carve an endless array of charming wizards, gnomes, gargoyles, ornaments, dogs, leprechauns, and more.

18 Step-by-step whittling projects
Now available in a handsome new hardcover gift edition, this friendly guidebook features 18 step-by-step whittling projects for knives, forks, birds, animals, trees, flowers, and more.
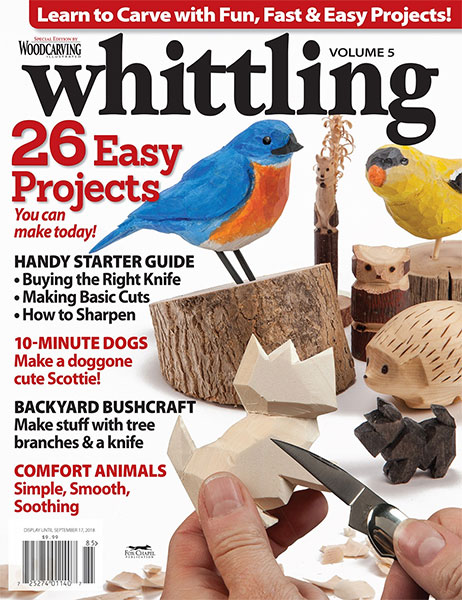
whittling special edition magazine
This special edition of Whittling is the ultimate beginner’s guide! Start a hobby that’s simple yet satisfying for all ages by completing over 30 step-by-step projects. Providing opening articles on how to get started, you’ll learn safety tips, the basics of sharpening, the four basic knife cuts, how to teach kids to whittle, and more.
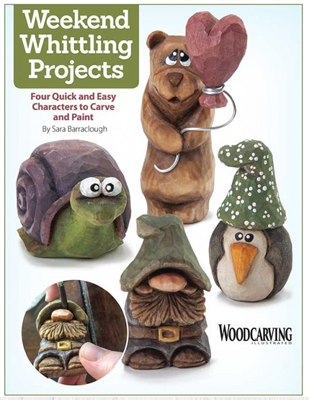
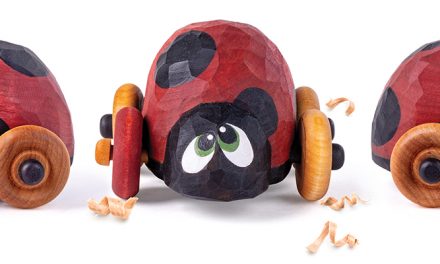
Four quick & Easy characters to carve & Paint
Learn to whittle four little friends! Featuring step-by-step instructions, coordinating photography, and full-size patterns for a snail, bear, troll, and penguin, author and talented woodcarver Sara Barraclough will guide you through each adorable whittling project.
10 Tips for Whittling Wood
Choose Your Wood
As you are looking for branches, it’s best to avoid wood that is so dry that the branch snaps cleanly in two when bent. I prefer to carve wood that has at least a little bit of moisture in it. As a rule of thumb, look for wood that is neither freshly cut nor very dry. The pith—the spongy part in the center of a branch — should be small. For instance, a 1/2″ — diameter branch should have a pith that is 1/16″ in diameter or smaller. – Chris Lubkemann, Little Book of Whittling
Whittle a song bird with Chris in this step-by-step tutorial!
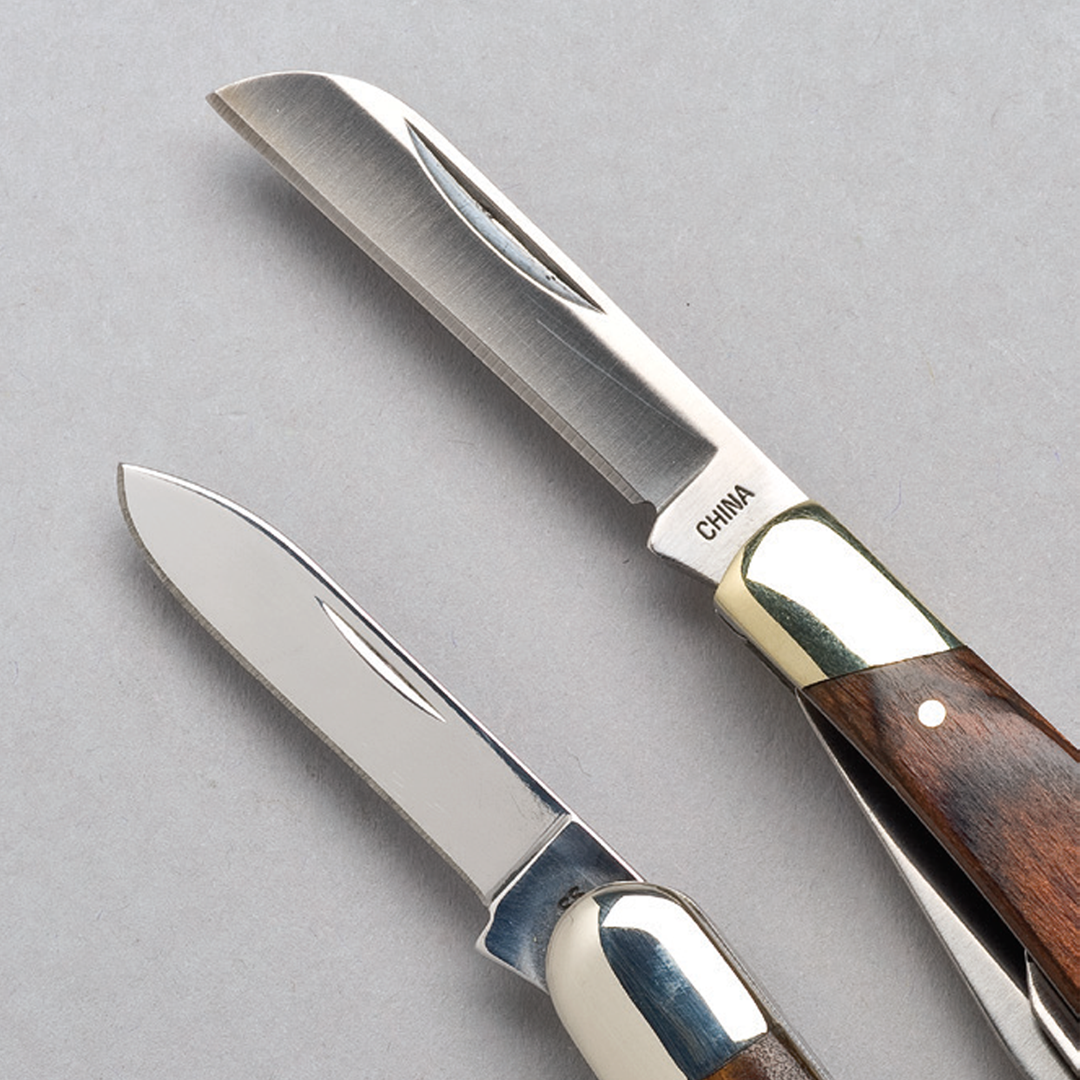
chOose a whittling knife
Look for a sheepsfoot blade—one where the tip of
the knife is closely aligned with the main cutting edge,
similar to a utility knife or standard bench knife. Many
pocketknife blades have a drop-point shape, which
centers the tip of the knife in the middle of the blade.
The drop-point shape works well for general cutting
purposes, but makes it difficult to carve small details. You can reshape a blade using sharpening stones and sandpaper, but the process is time-consuming. – Bob Duncan, Whittling Magazine, Volume 6
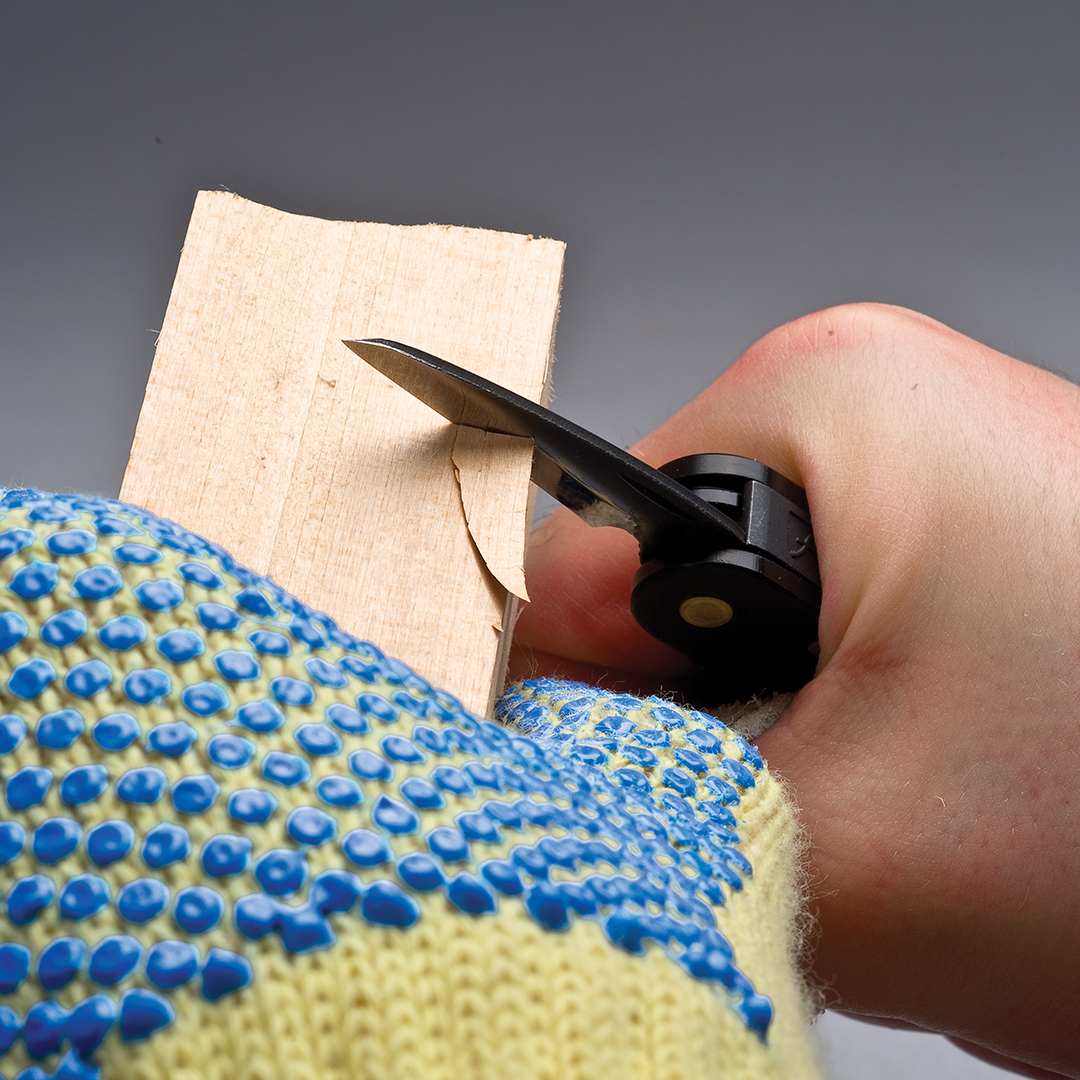
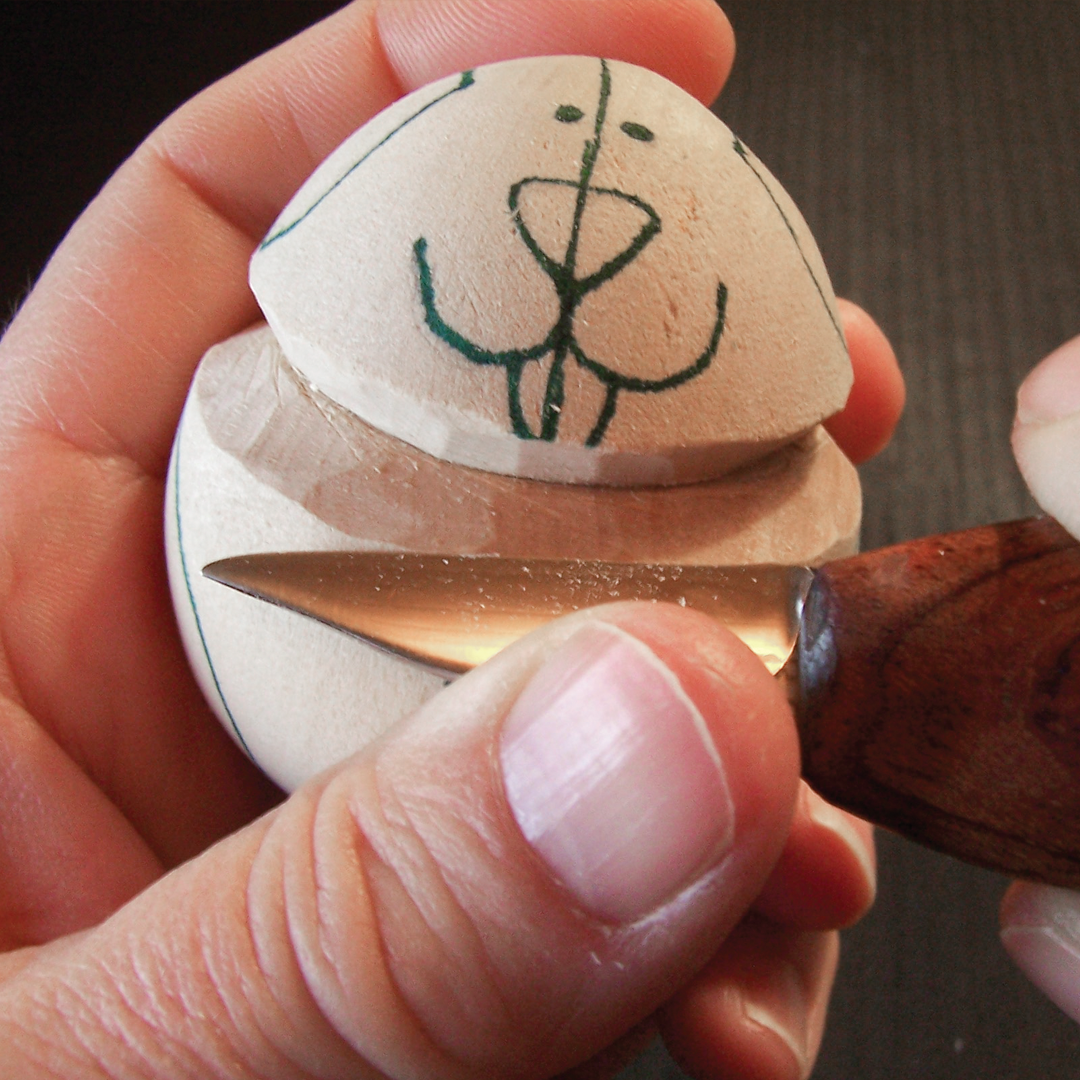
Learn Stop Cuts
Now is a good time to start a habit. When you’re whittling smaller projects, it is easier to make stop cuts by moving the wood into the blade rather than by moving the blade into the wood. You may not be able to do this all the time, but practice it whenever possible. Place the blade on the measured mark, hold it firm, and “rock” the piece of wood into the blade to make a stop cut. – Tom Hindes, 20-Minute Whittling Projects
Make Smooth Cuts
If you feel resistance as you make the cut or notice the cut is leaving a rough surface, change the direction of your cut or sharpen your blade. Whatever tools you choose, make sure they are sharp. Sharp tools require less pressure to make the cut, which gives you more control and smoother cuts – Christine Coffman, The Complete Starter Guide to Whittling
Click here to visit this free Whittle a Little Piggy project by Christine!
Try Basswood Egg Blanks
My first attempts at carving were very frustrating because I didn’t know how to “round” the blank. I only began loving carving after my brother, Bill, gave me a basswood egg blank, which comes pre-rounded. Carving eggs and other turnings lets me skip the confusing part and get straight to the fun: creating the character and adding details. The eggs I use are turned from basswood, which is a light wood with even grain that is easy to carve. Although you can purchase chunks of basswood from local craft stores, they don’t usually carry basswood turnings. The eggs and balls they sell are made of hardwood and are very hard to carve. Instead, I purchase the turnings online from The Woodcraft Shop and Stadtlander Woodcarving Supplies. – Lori Dickie, Quick & Cute Carving Projects
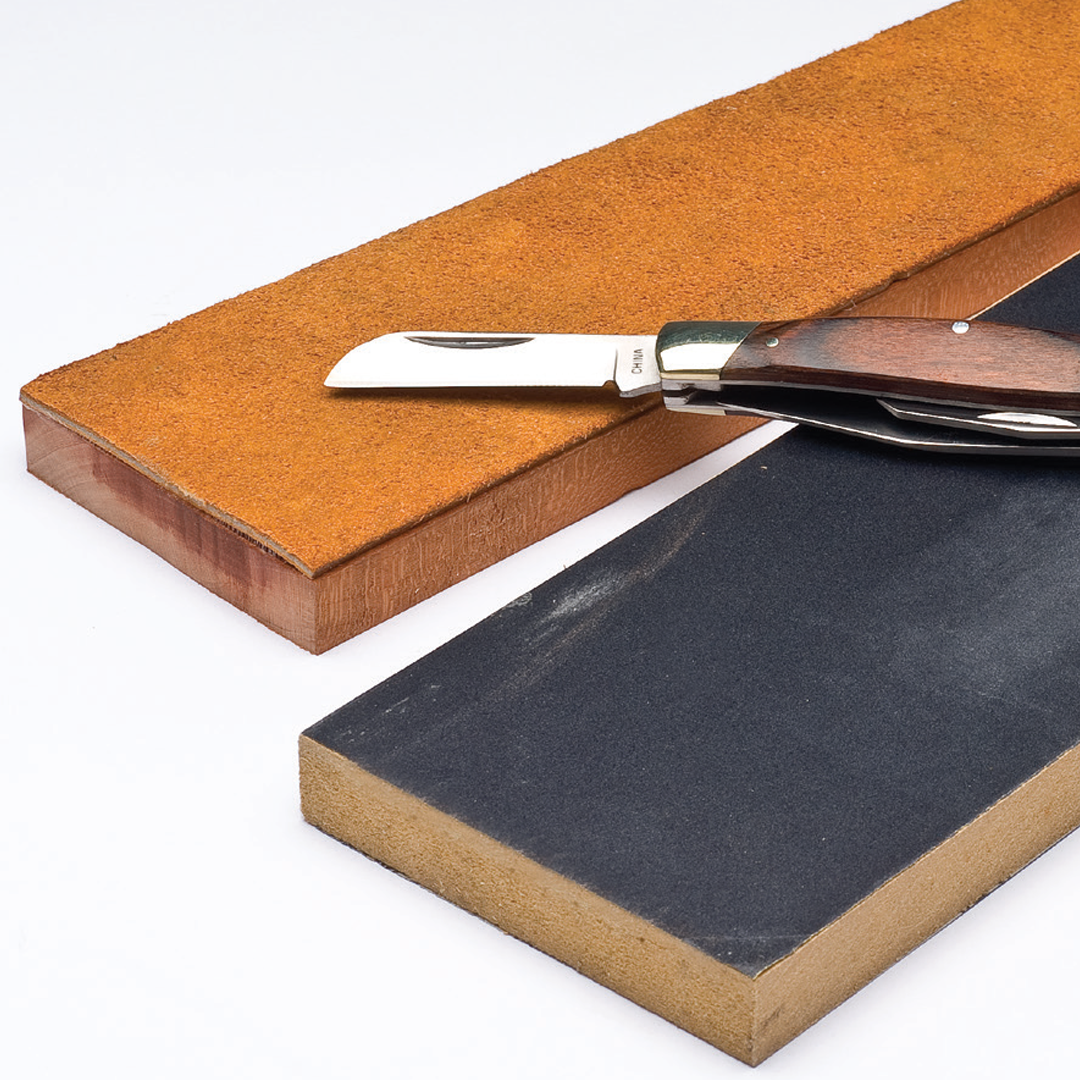
Keep Knives Sharp For Ease and Safety
A critical factor that determines the success or failure of a woodcarving project is the degree of sharpness of the tools that the carver uses. Sharp tools that are properly maintained are a pleasure to use because they produce clean, shiny cuts. Dull tools are dangerous to use because they require excessive pressure to push the edge through the wood. Dull, and even semi-sharp tools produce cuts that look fuzzy and indistinct. Many would-be carvers lose interest in this wonderful hobby because they do not have sharp carving tools. Carving, for them, becomes an unpleasant chore rather than the enjoyable experience it should be. – Jack Price, Carving Small Characters in Wood
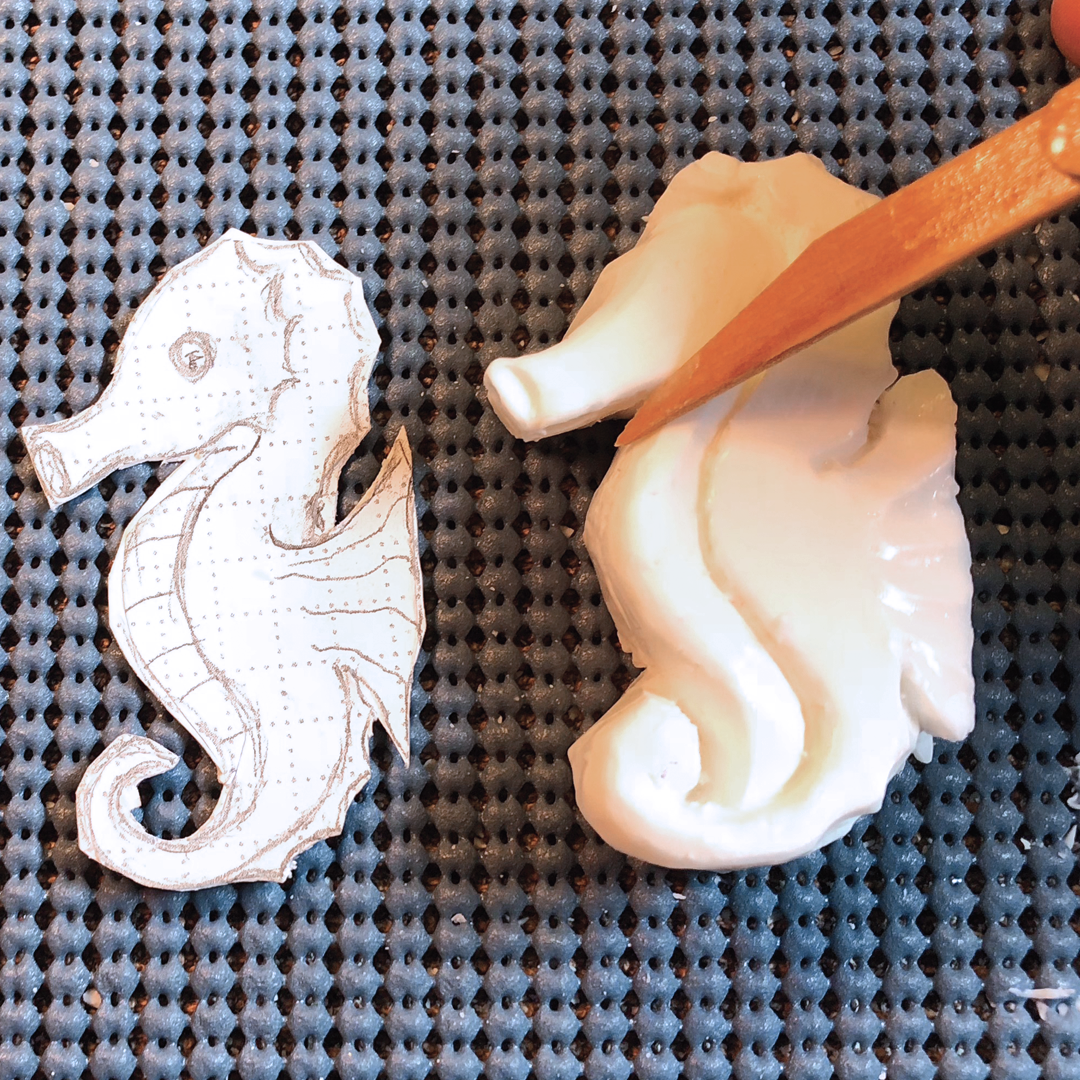
Consider Starting with Soap instead of Wood
Soap carving is a great way to introduce children to how to whittle. It is also an economical way of finding out if you like carving enough to graduate to a whittling knife, gouge, and wood. You can create your own soap carving tools from sharpened popsicle sticks. Learn how to carve soap and the whittling basics with the Complete Guide to Soap Carving by Janet Bolyard.
Also, click here to try Janet’s Whale of a Tale soap carving tutorial!

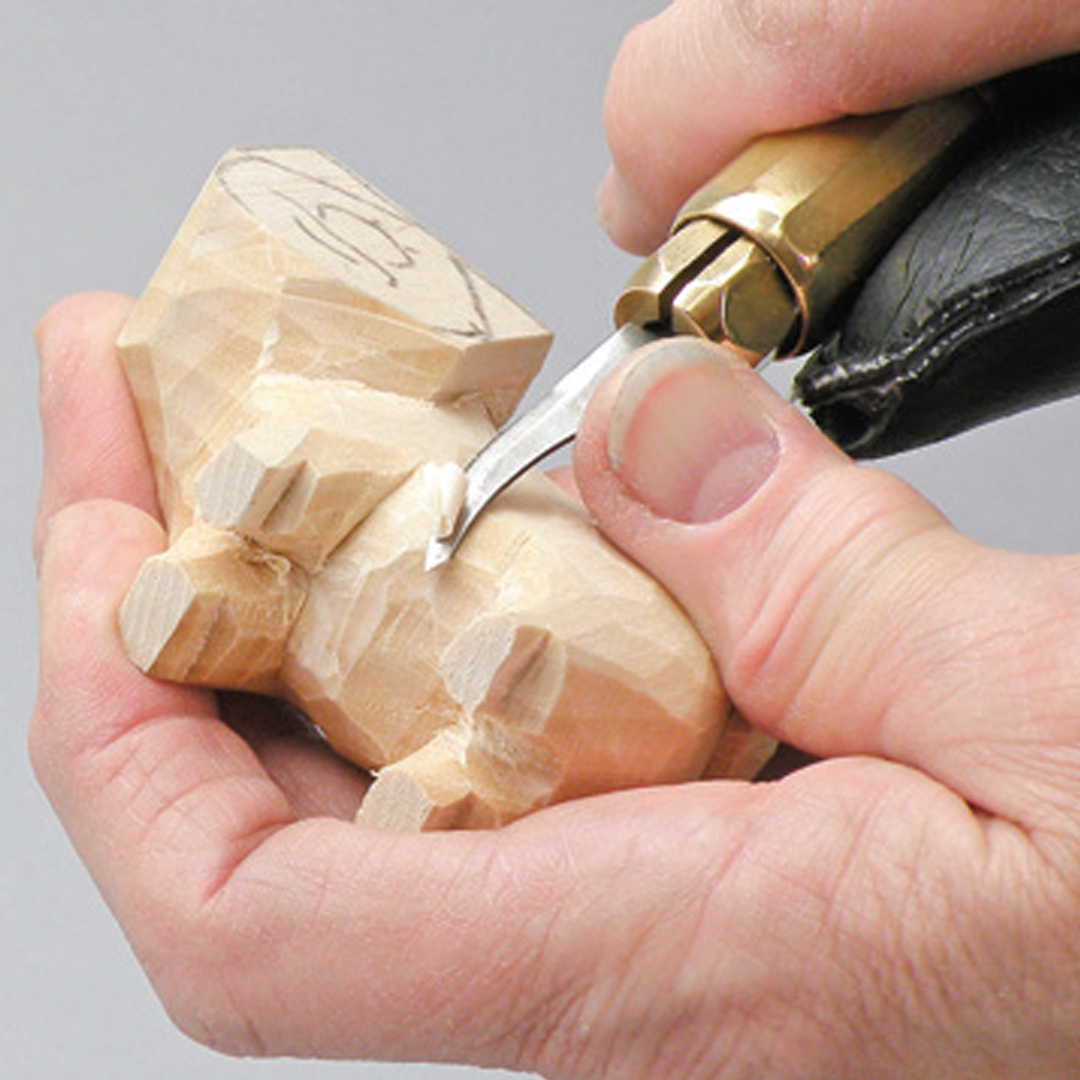
Learn Push Cuts
For the push cut, hold the wood in one hand. Hold the knife in your other hand with the thumb on the back of the blade. Push the knife through the wood, away from your body. This type of cut is also called the straightaway cut. For additional control or power, place the thumb of the wood-holding hand on top of the thumb on the blade, and use the wood-holding thumb as a pivot as you rotate the wrist of your knife-holding hand. This maneuver is often called the thumb-pushing cut or lever cut. – Whittling Magazine, 2018
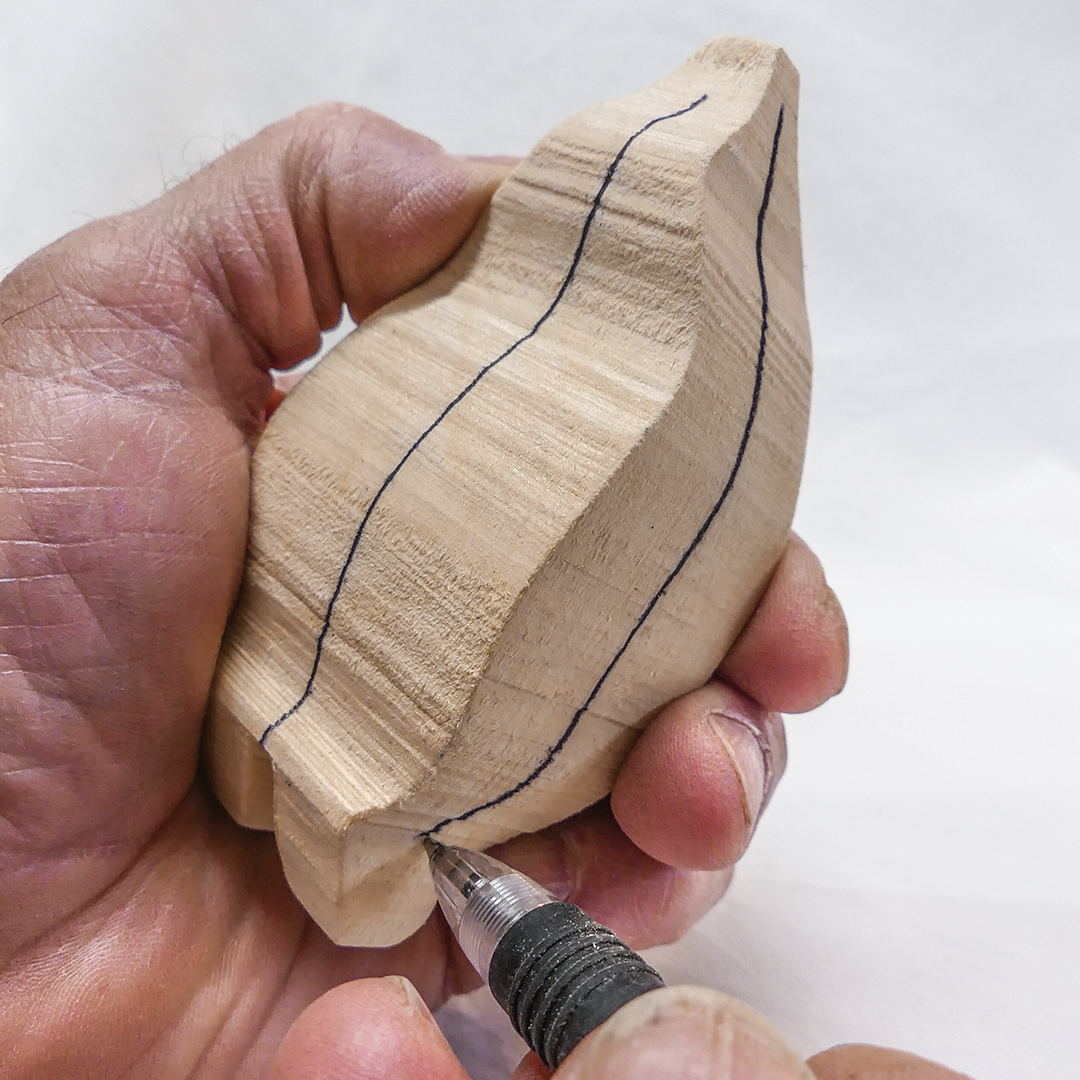
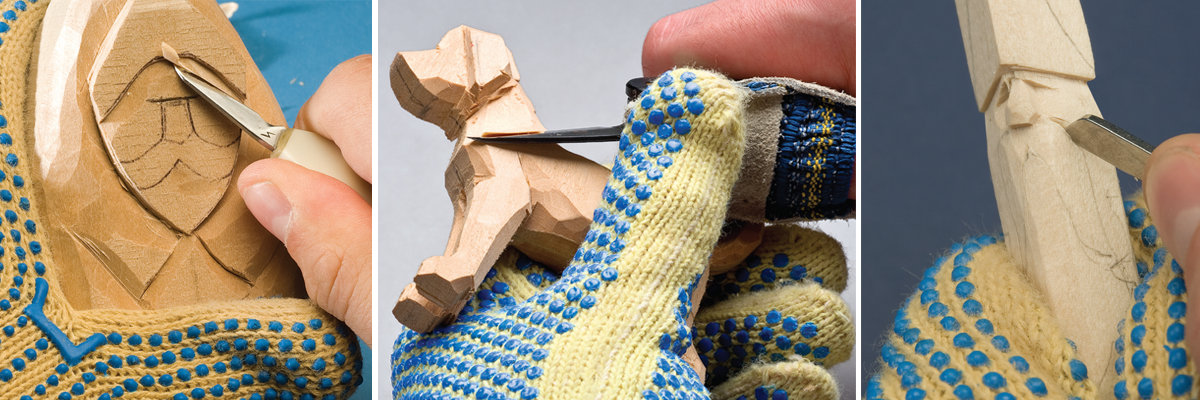
Long-Lasting Centerlines
Draw the centerlines with a ballpoint pen. The pen ink doesn’t rub off like pencil graphite, and your caving glove stays cleaner. – Tom Mellott, Woodcarving Illustrated Magazine, Winter 2018

Finish Your Whittle Creation
Dip your wood carving in boiled linseed oil. Allow the excess to drip off and wipe it down with clean paper towels. Make sure to wipe the creases and crevices to get any “pools” of oil off. If you’re planning to paint, the oil changes the way the wood takes paint and can reduce bleeding of color into unwanted areas. – Sara Barraclough, Weekend Whittling Projects
Get Exclusive Email Offers And Receive 15% OFF On Your First Book Order!
Recent Comments