


Chainsaw Carving – Repairing Cracks & Cuts
By Helmut Tschiderer, Excerpt from ChainSaw Carvings for Beginners
Chainsaw carving is a unique art form that can fascinate carvers and viewers!
It does take a certain amount of physical and mental fitness. Make sure to know as much as you can about your chainsaw’s cutting and safety systems, and research the subject of your carving before you get started. Then you can create quality work without jeopardizing your safety.
Below you will find pro tips on how author and chainsaw artist, Helmut Tschiderer, fixes his chainsaw mistakes! Find more tips and full step-by-step projects in his book Chainsaw Carving for Beginners.

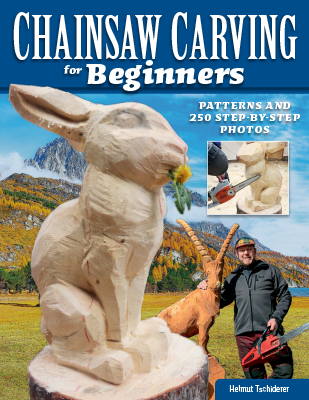
Chainsaw Carving for Beginners
• An approachable, beginner-friendly guide to the craft of
chainsaw wood carving
• Detailed insight on chainsaw care, maintenance, safety,
and essential tips and techniques
• 4 step-by-step projects with coordinating photography
and detailed guidance throughout
• Reference pattern views for each project to ensure success
• Projects that use various techniques to progress and
expand your chainsaw carving skill set
Repairing Chainsaw Carving Cracks & Overdone Saw Cuts

1. Chainsaw Sculpting
Since chainsaw sculpting is basically done from a solid tree trunk, cracks from the wood drying cannot be avoided. And sooner or later we all make a misguided cut that goes too deep.

2. Gather your Supplies
Generally speaking, cracks don’t usually bother me, because cracking and checking are par of the character of chainsaw sculptures. But, still sometimes they are distracting, for instance when they occur in some important detail of the piece for repairs, a few wedges and some wood glue is needed.

3. Glue
I dip the wedges in glue …
4. Closing the crack
…and press one after the other into the crack until the crack is closed.

5. Secure
Then I tap them firmly with the hammer or axe.

6. Deep Cuts
Cuts that went too deep can be closed the same way.

7. remove Excess.
After the glue has set I rework the area, removing the excess.

8. Finish Carving
But if you like, you can sand the surface with an angle grinder. The drawback there is that cracks will then be much more of an eyesore. Beyond that, the sky’s the limit: charring, brushing, painting, spraying with varnish—I‘ve done it all.
Get Exclusive Email Offers And Receive 15% OFF On Your First Book Order!

Recent Comments