


Top 10 Relief Carving Tips
Introduction to Relief Woodcarving Styles by Lora Irish, Relief Carving Workshop
Relief carving is the process of cutting a design or pattern into a flat surface; relief carving media include wood, stone, linoleum, clay, and synthetic carving blanks. To create a raised, dimensional look in a relief carving design, the background area of the carving blank is lowered using chisels and gouges. The lower the background is carved into the blank, the higher the design area appears to be.
The simplest form of relief carving is called sgraffito, meaning to scratch into the surface. Using the most basic tools of relief carving—the bench knife and V-gouge—a design can be created with thin, shallow cuts made across a flat surface.
Low Relief vs. High Relief
Low relief carvings, also called bas-relief, use shallow changes of depth between the layers of the pattern elements and simple, rounded-over edges. The sidewalls of the elements within the design have vertical, smooth walls. High relief carvings are not necessarily cut deeper into the wood or stone. Instead, a technique called undercutting places the joint lines between two elements underneath the higher element.
To get started you will discover a simple set of carving tools, a few sharpening stones, a stack of carving blanks, and a few tips from our experts below is all you need to create stunning relief work!

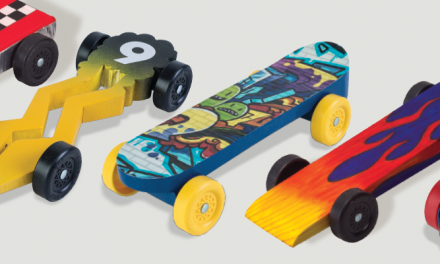
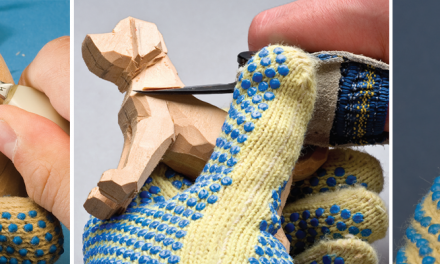
Fun Things to carve from Wood
Author Tom Hindes demonstrates his easy-to-learn, quick-cut method for whittling expressive little figures from wood in just 20 minutes or less. With his friendly instructions and step-by-step photos, you’ll learn to carve an endless array of charming wizards, gnomes, gargoyles, ornaments, dogs, leprechauns, and more.

18 Step-by-step whittling projects
Now available in a handsome new hardcover gift edition, this friendly guidebook features 18 step-by-step whittling projects for knives, forks, birds, animals, trees, flowers, and more.
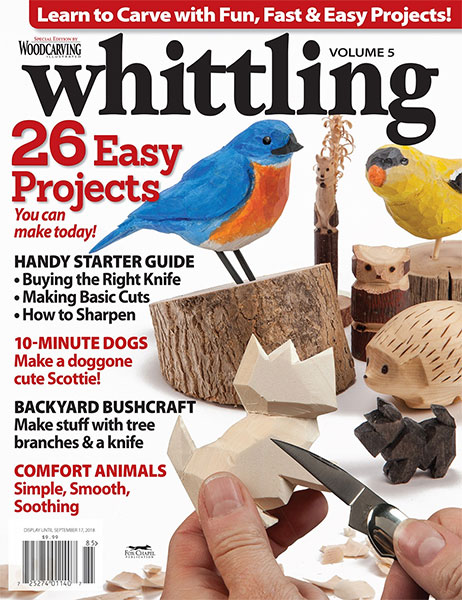
whittling special edition magazine
This special edition of Whittling is the ultimate beginner’s guide! Start a hobby that’s simple yet satisfying for all ages by completing over 30 step-by-step projects. Providing opening articles on how to get started, you’ll learn safety tips, the basics of sharpening, the four basic knife cuts, how to teach kids to whittle, and more.
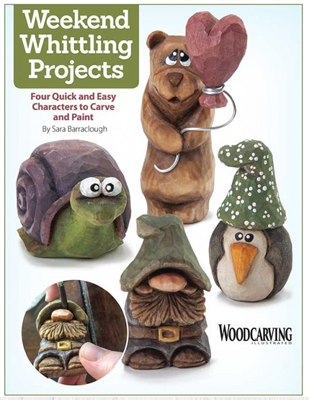
Four quick & Easy characters to carve & Paint
Learn to whittle four little friends! Featuring step-by-step instructions, coordinating photography, and full-size patterns for a snail, bear, troll, and penguin, author and talented woodcarver Sara Barraclough will guide you through each adorable whittling project.
10 Relief Carving Techniques & Tips
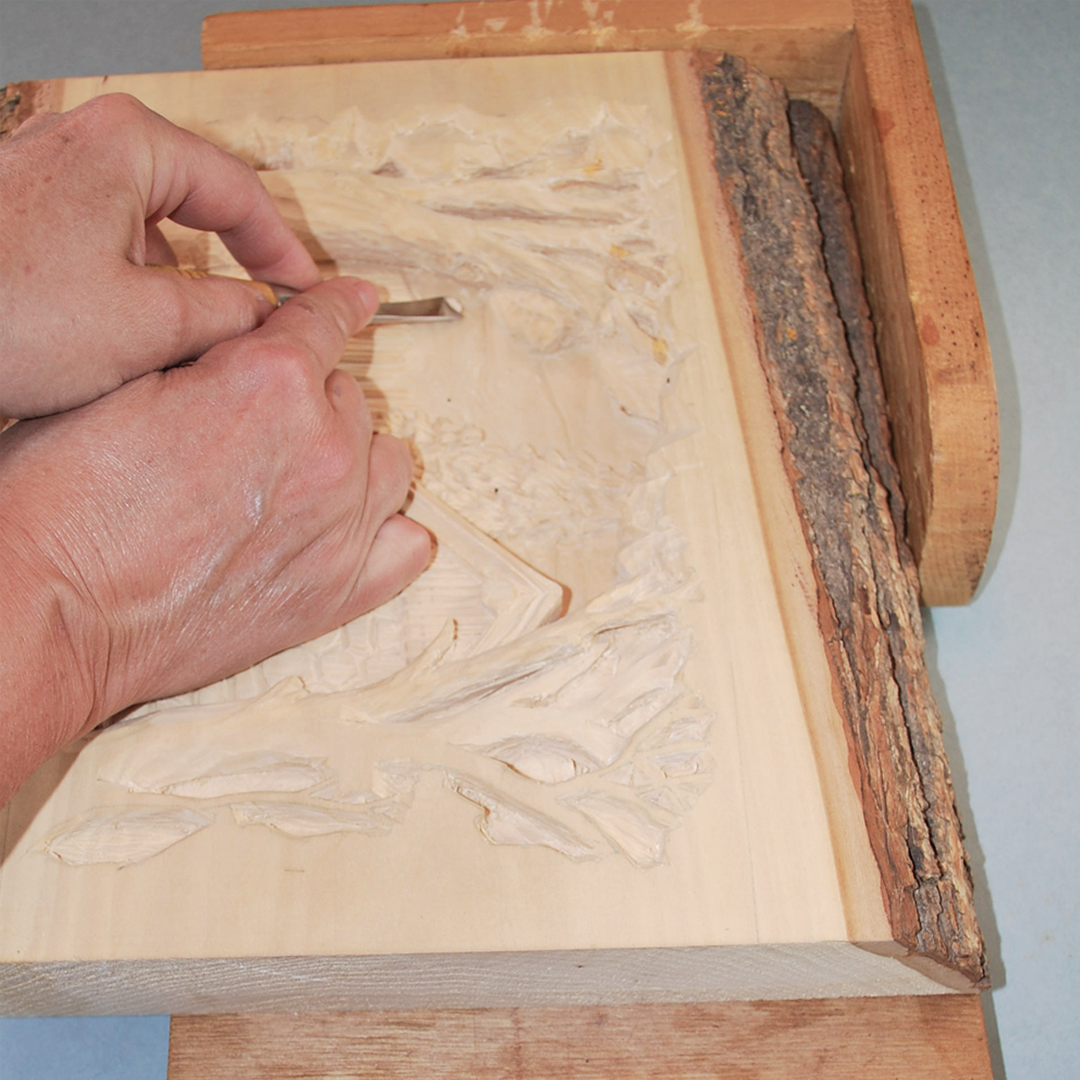
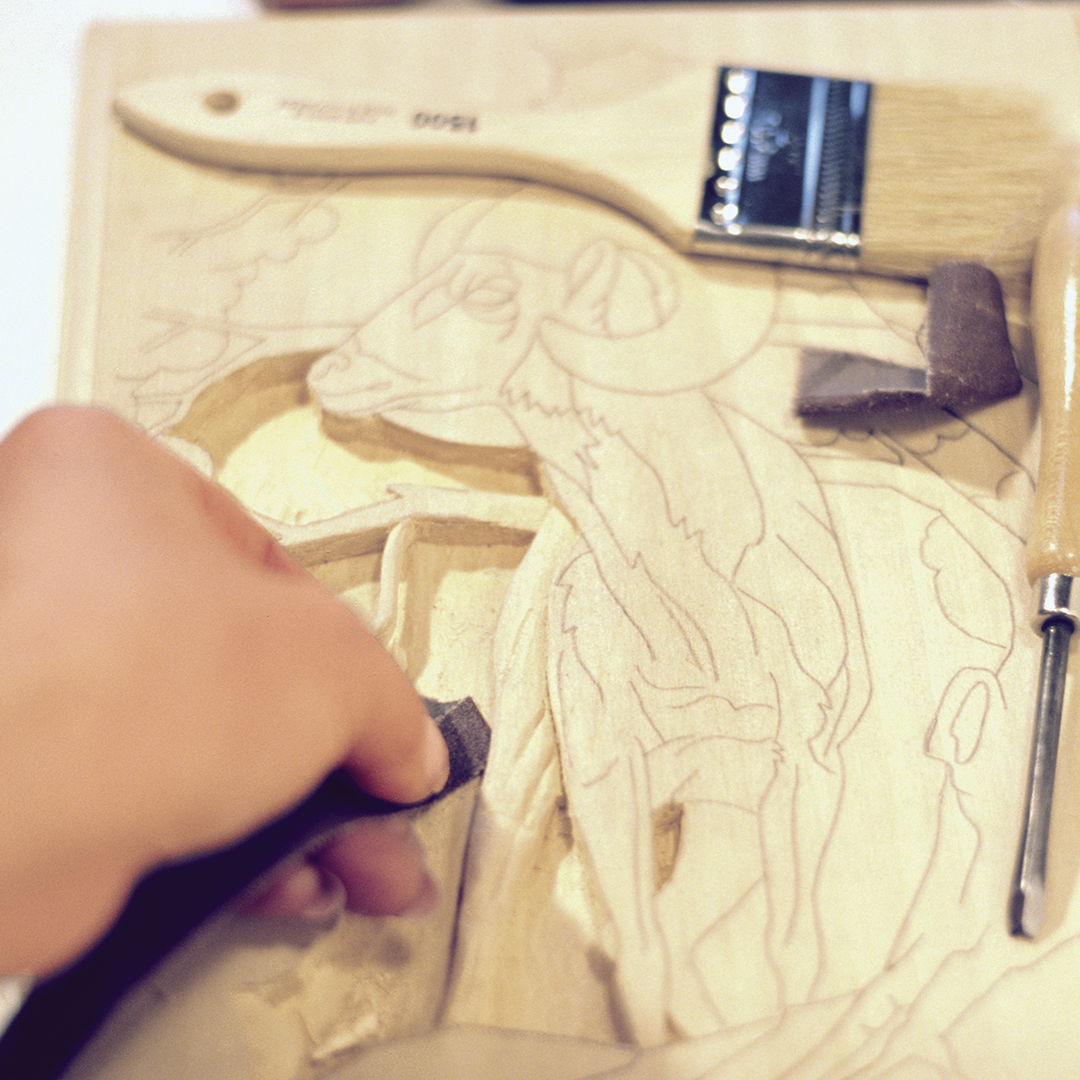
Remove Wood Fibers
Basswood and butternut are excellent woods for beginner carvers, as they are both very easy to cut compared to other common carving woods. This also means that more loose wood fibers are created during the carving process than with other woods. To remove these fibers I use sandpaper, foam core sanding boards, sanding pads, and a stiff brush. This extra sanding may not be necessary on woods that are harder than basswood and butternut. – Lora Irish in Relief Carving Workshop
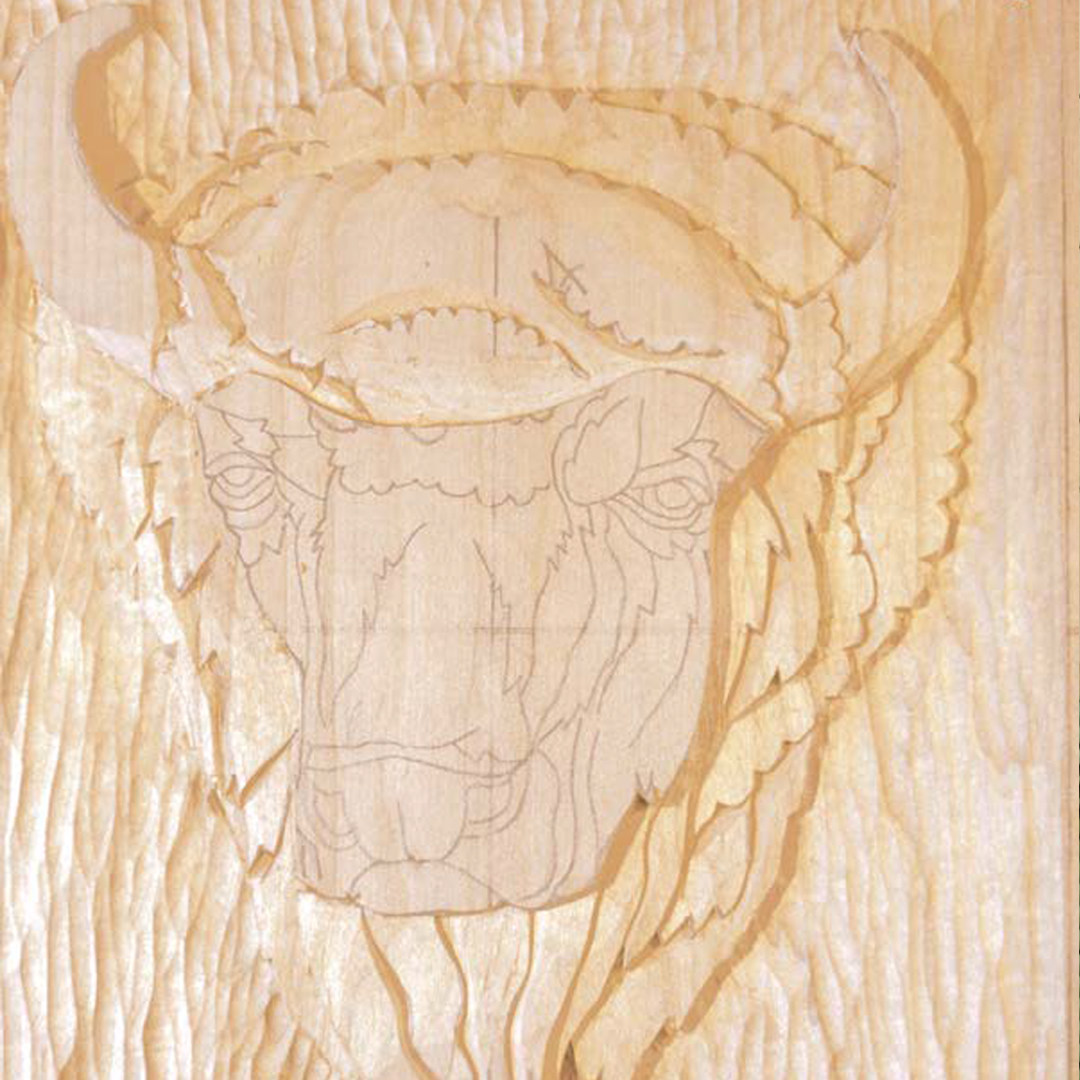
Understand levels
In a well-balanced relief design, there will be at least four—and probably five or six—levels to the design. The first level is the background behind the main object followed by at least
three levels for the scene’s focus. Any item lying in front of or behind the focus adds a fifth level. A secondary area of focus adds a sixth level. Using more than six levels in a carving can
be cumbersome. As a rule, I break patterns down into five or six levels. – Lora Irish, Wildlife Carving in Relief
Think about your lighting and shadows
Low-relief carving requires a principle source of illumination
from one angle: overhead and oblique to the material.
Without shadows, a relief work is nothing. The whole
carving process is about cutting hollows in the wood that,
with the correct lighting, create the numerous shades and
shapes that depict the subject. – Graham Thompson, Woodcarving Illustrated, Spring 2017 Magazine
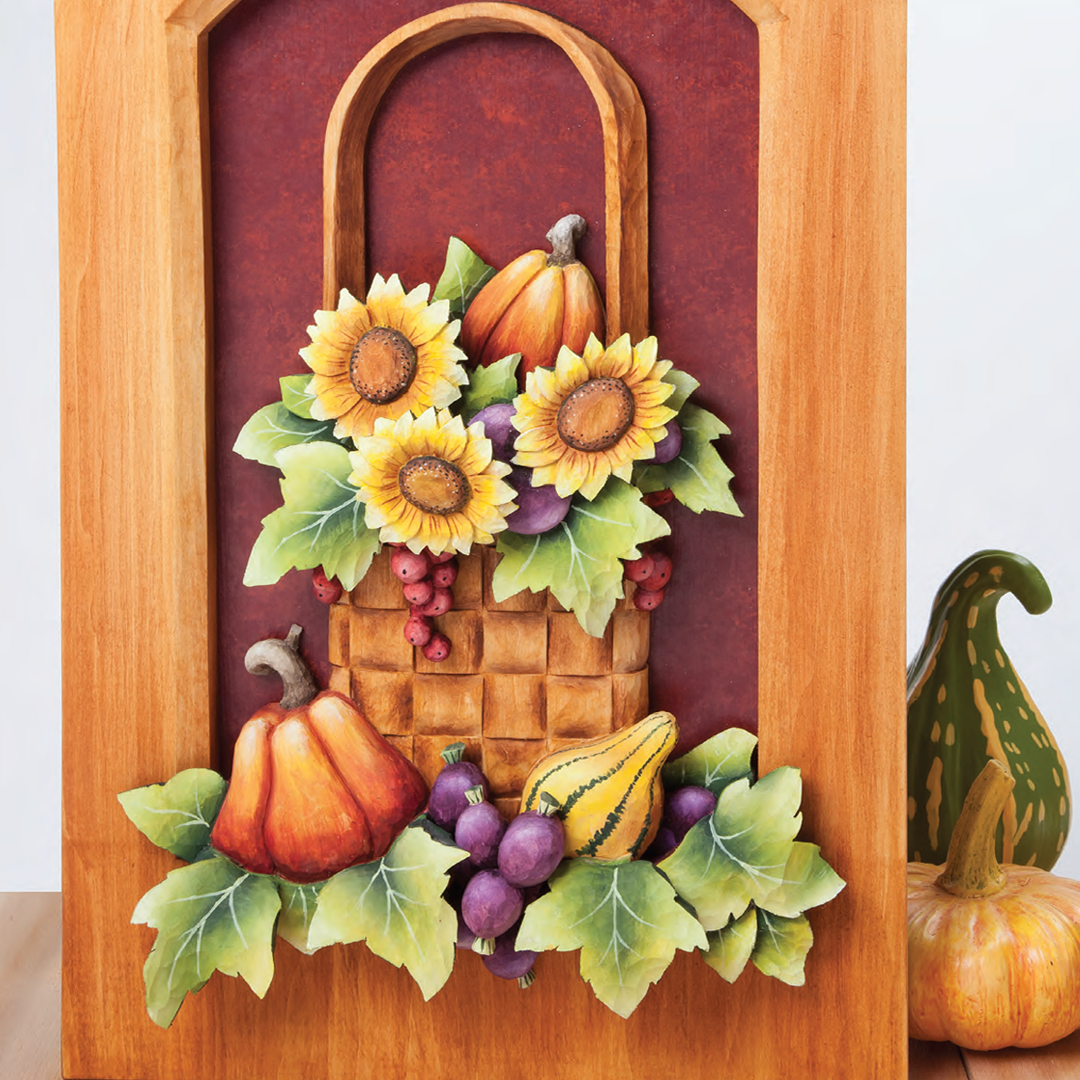
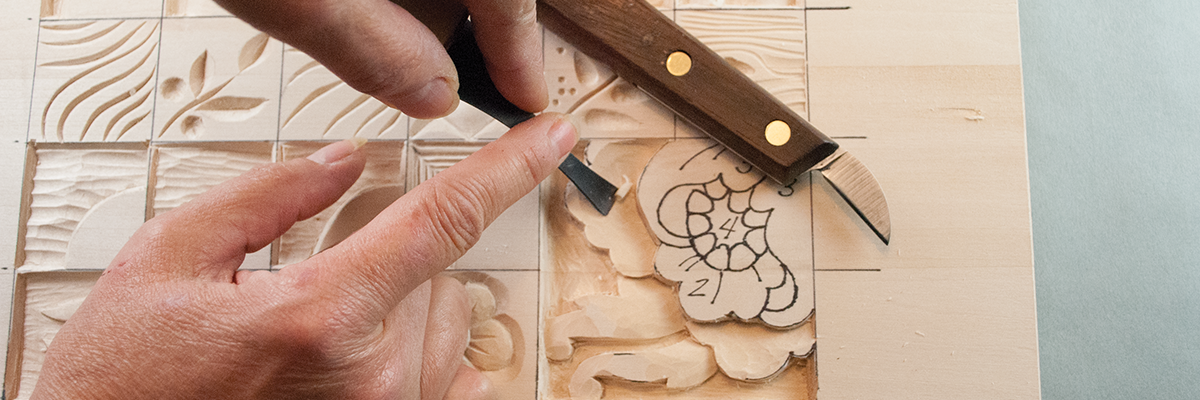
Use Betty Padden’s Layered Technique
I love intricate high-relief carvings, but the technique takes years to master. I have figured out a way to
break a great design into separate layered components to make the carving and painting much easier. This autumn-themed carving incorporates a lot of great elements and techniques, such as carving a basketweave pattern. Taken separately, each section is simple to accomplish, but when put together, the relief plaque looks like a beautiful project for advanced carvers. Only you’ll know the secret is in the layers! Find her tutorial on page 20 of the Woodcarving Illustrated, Fall 2017 Issue.
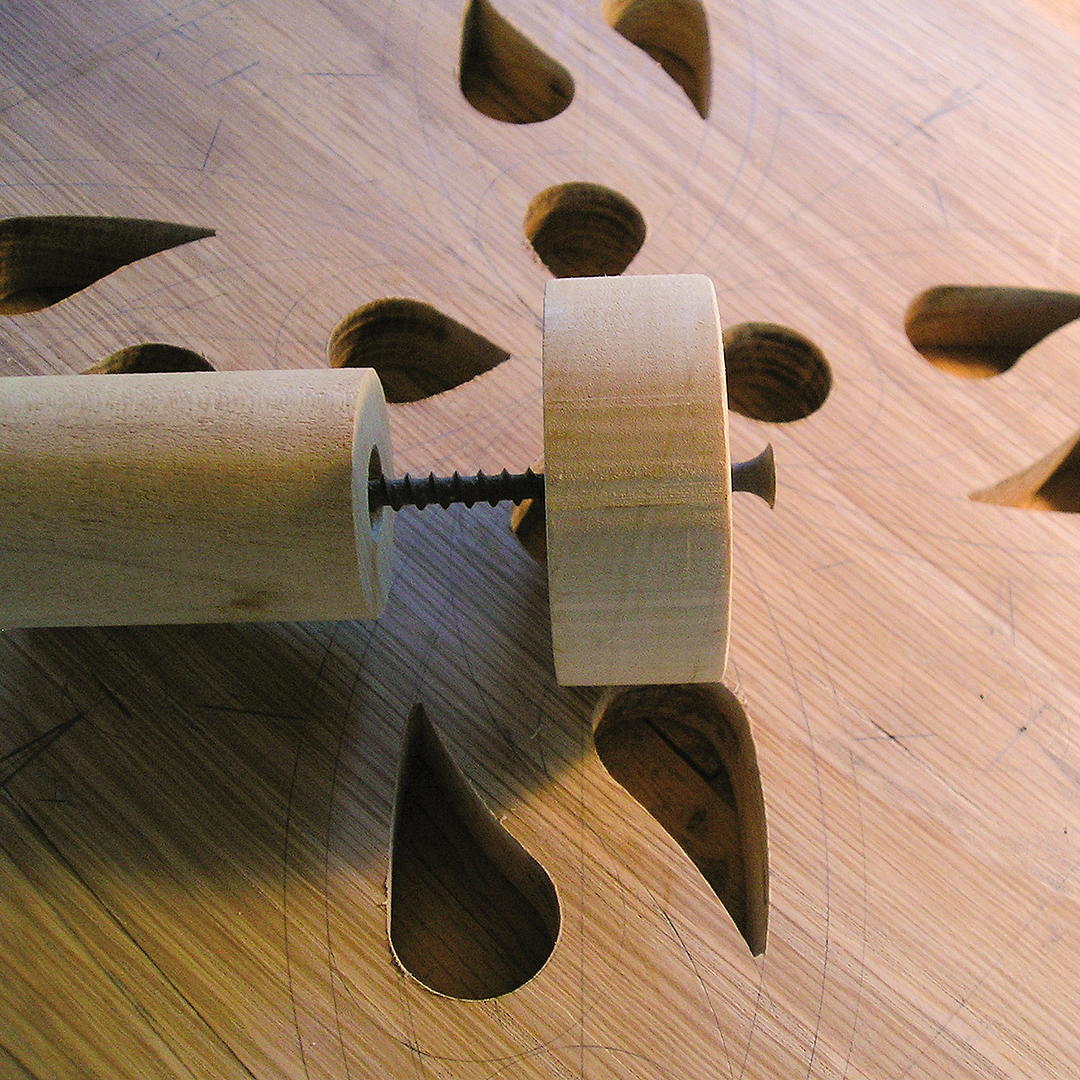
Measure your depths
Make a depth-gauge marker from some scrap wood and a dowel. Drive a 2″ (51mm)-long drywall screw through the scrap into the dowel, but do not tighten the screw down totally. You can turn the scrap of wood up and down the screw to adjust the distance between the scrap and the head of the screw. Sharpen the head to form a cutting edge that you can use to mark different depths. – Dan Katz, Woodcarving Illustrated, Spring 2012 Issue.
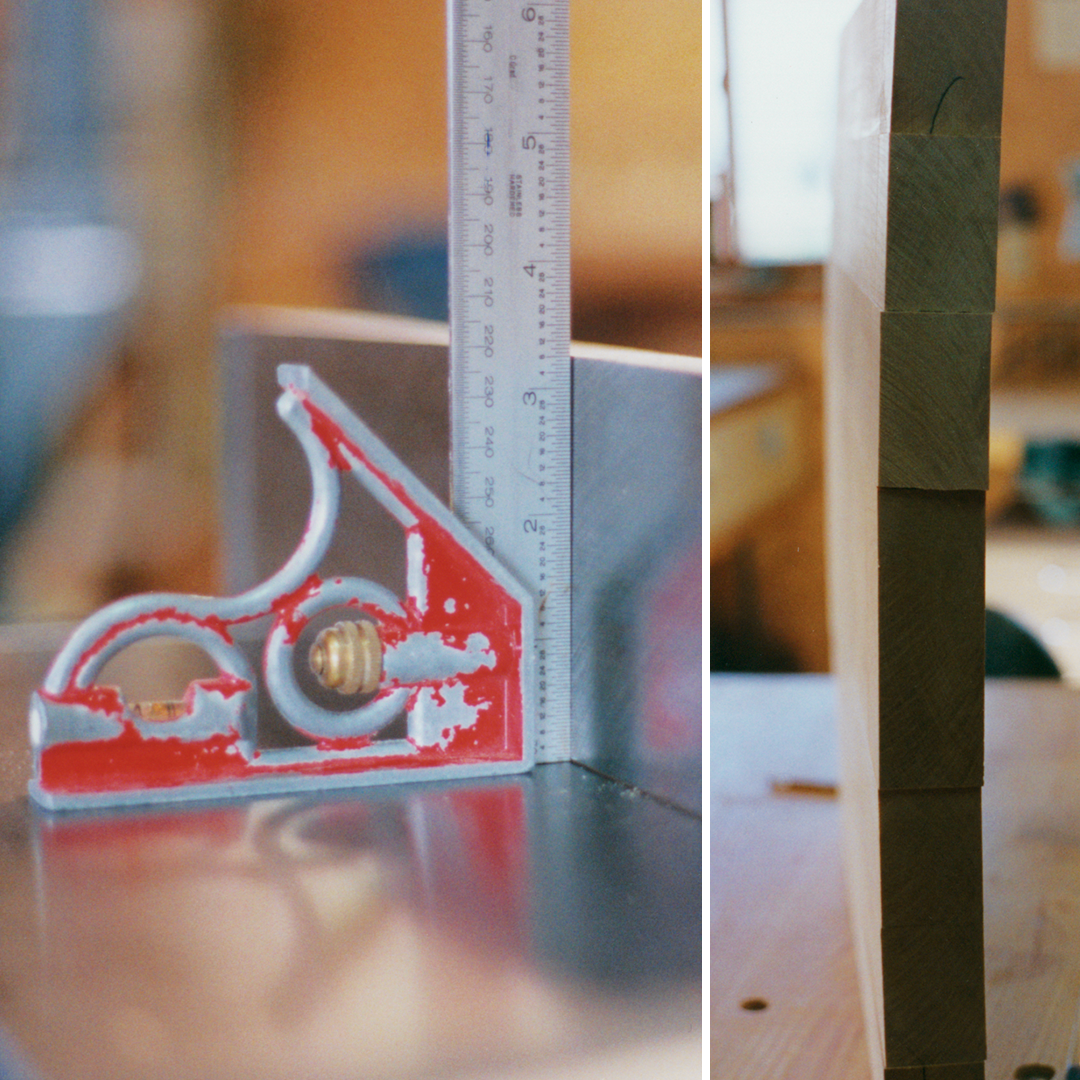
Prepare your Relief Panel
Many relief carvers have experienced the frustration of
seeing a relief panel of glued-up boards warp and cup to the
carved side, changing what was supposed to be a beautiful
piece of craftsmanship into a cause for disappointment.
In my early years as a carver, I faced the problem many
times. I sought an answer, but finding nothing, developed
my own camber method. It is time-tested, reasonable, and
straightforward. With it, you can construct relief panels
that are dimensionally stable, attractive, and reflective of the
work you put into them. Get W.F. (Bill) Judt’s Camber tutorial in Relief Carving Projects and Techniques
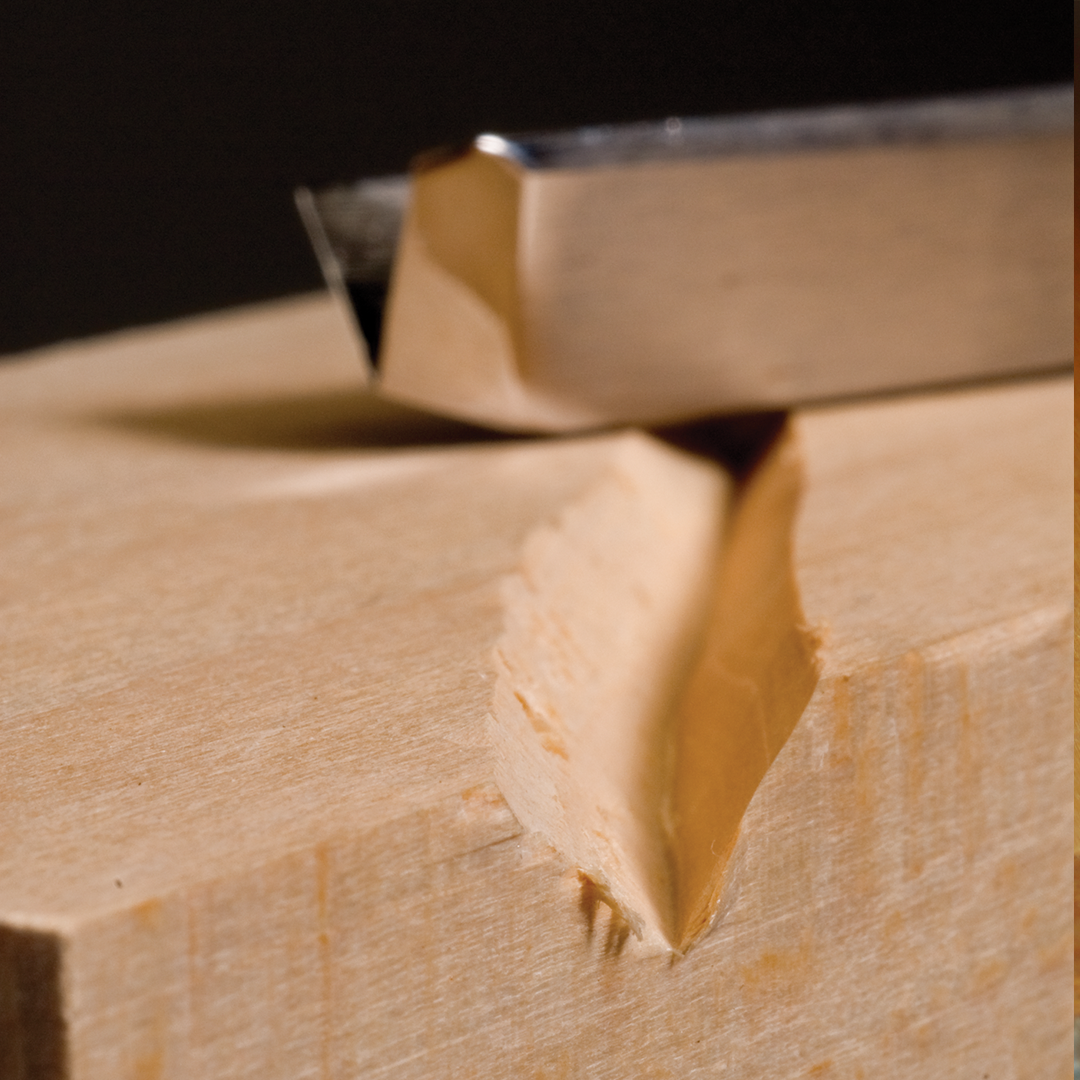
CuT Diagonally
When cutting diagonally across the wood fibers, one side of the V-tool or veiner cuts with the grain, and the other side cuts
against the grain. Put the “good” or smooth side of the groove next to the subject and the rough side to the waste at all times. – Chris Pye, Woodcarving Illustrated, Summer 2008 Magazine
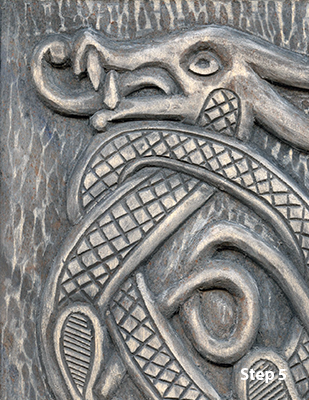
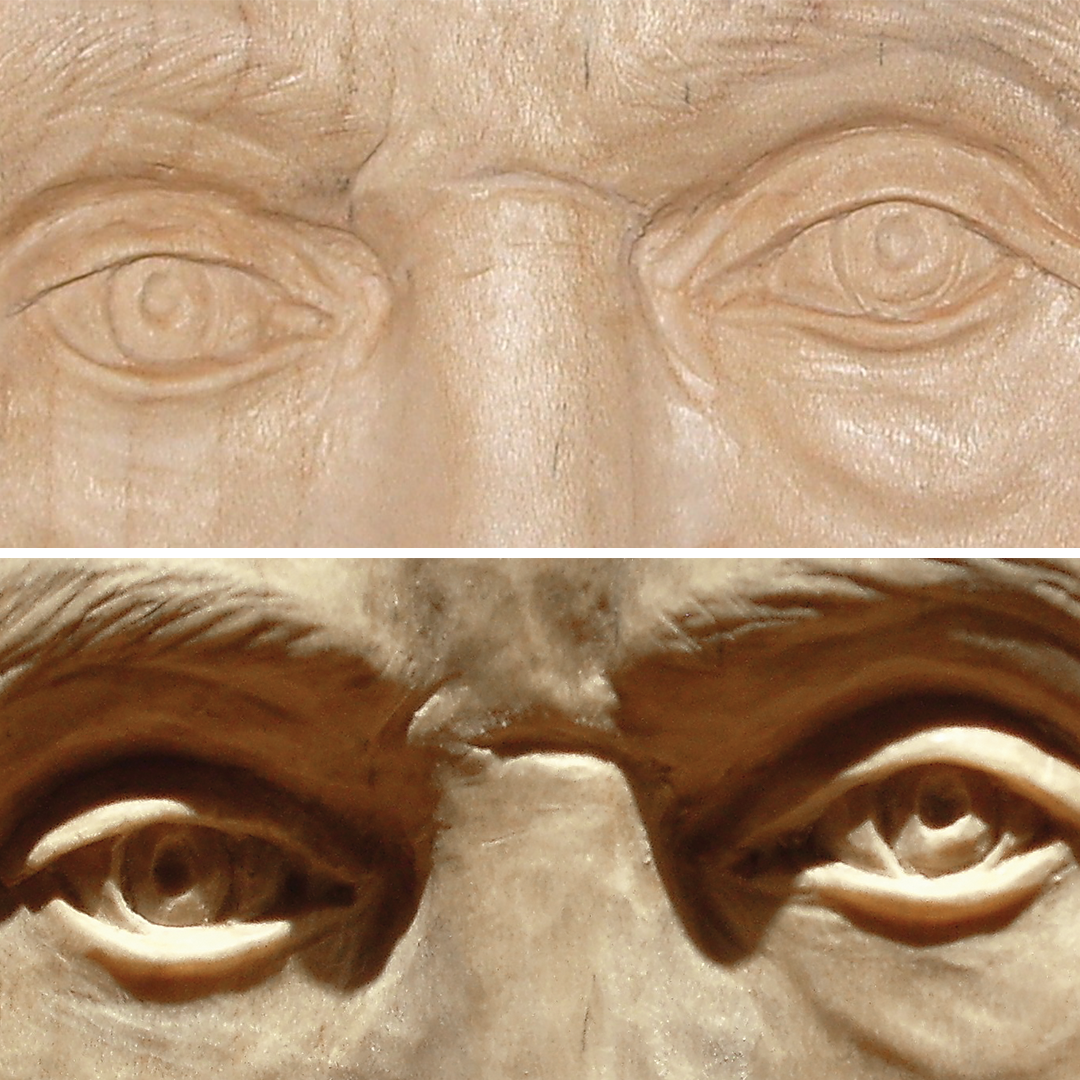
create shadows with the undercut
The undercut adds crisp, dark shadows to the work. Potentially one of the most valuable cuts in your arsenal which is detailed in Lora Irish’s Wildlife Carving in Relief book. Portraits or full body patterns easily adapt to undercutting. Try undercutting around the entire body of an animal, separating it from the scenery and visually pushing it away from its surroundings. The soft shadows cast by the solid joints between the levels strengthen the darker and more defined shadows. The shadows halo the animal. – Lora Irish, Wildlife Carving in Relief
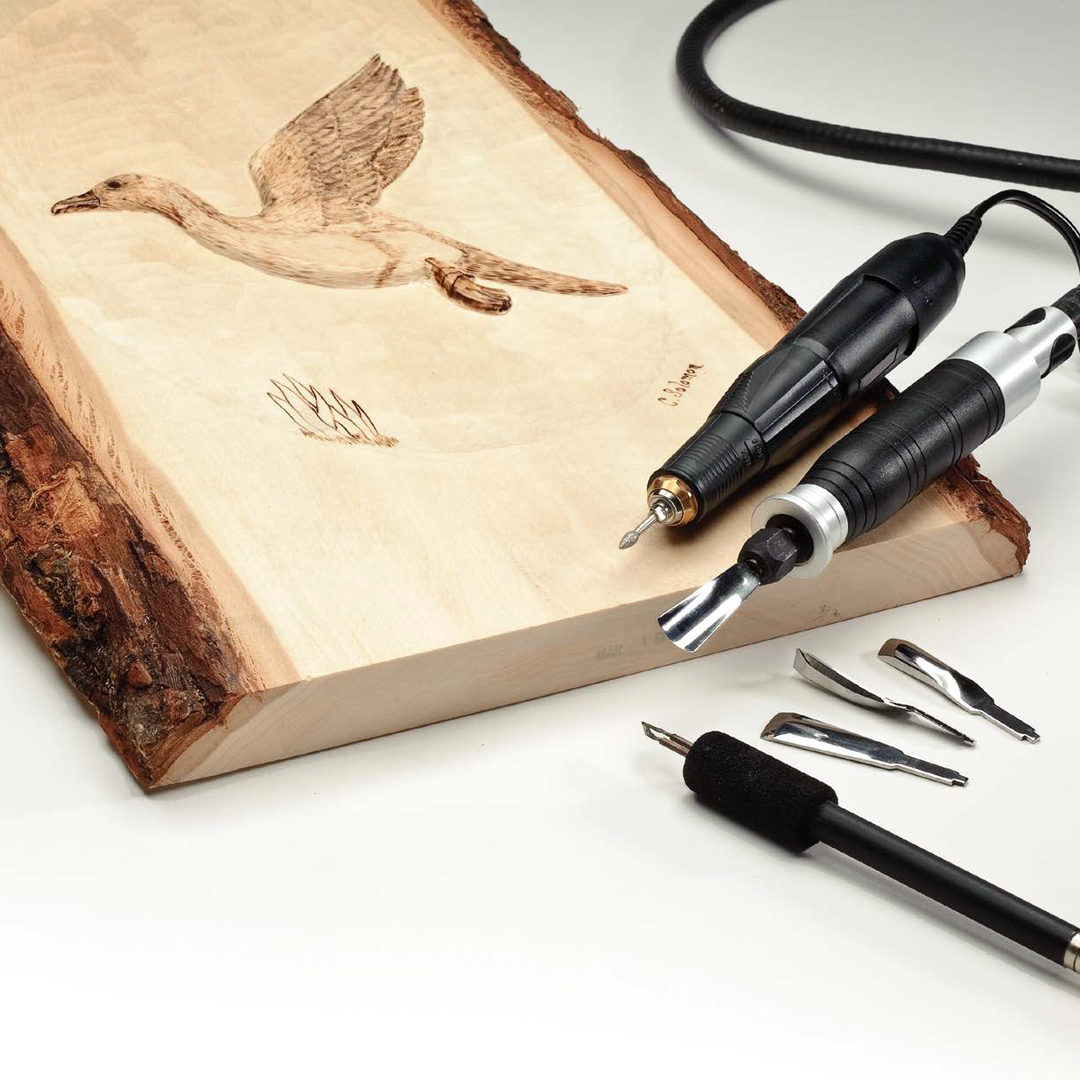
Bring in the power tools
You can use reciprocating tools, traditional-edge tools, and rotary bits to create relief carvings. If you don’t have a reciprocating handpiece, use a piece of scrap wood to practice
lowering the background with aggressive carbide-point
bits in a rotary power carver. Get a step-by-step power carving in relief by Chuck Solomon and Dave Hamilton in Relief Carving Projects and Techniques.

Secure Your Work
The bench hook is a simple and easy carving jig that will become an indispensable asset to your relief carving, allowing you to anchor or brace your projects while using a gouge or skew. – Lora Irish in Relief Carving Workshop
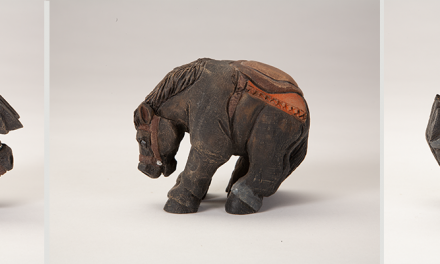
Master the Art of Nordic-style Carving
Guided by noted carvers, Frank and Balder Egholm you'll master the art of one of the most historic and traditional carving styles. This online-only exclusive title is filled with rustic, yet functional projects from utensils to decorative and functional pieces that...
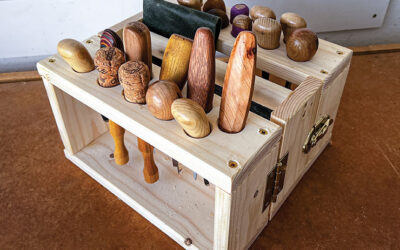
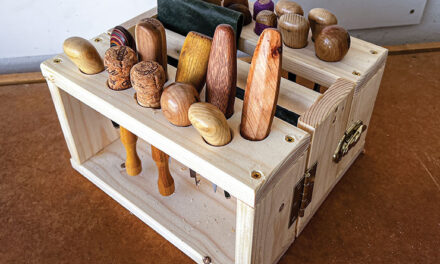
Easy Workshop Organization Projects
Making a Basic Caddy to Hold All Your Tools By Casey Foster Spring is upon us! There's no better time to clean out your workshop and implement new organization techniques to keep your work area looking tidy all year round. Below is a tool caddy project by Casey...
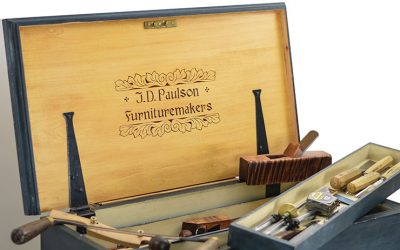
Beat the Winter Blues with Woodworking Projects
Personalize your toolbox - ideas to carve, paint, and decorate By Rev. Jim Paulson There's nothing like the challenge to stay motivated and inspired when the winter doldrums set in. Try these fun, easy woodworking projects to beat the winter blues! This project...
Get Exclusive Email Offers And Receive 15% OFF On Your First Book Order!
Recent Comments