


Building a Log Bench from Sourced Wood
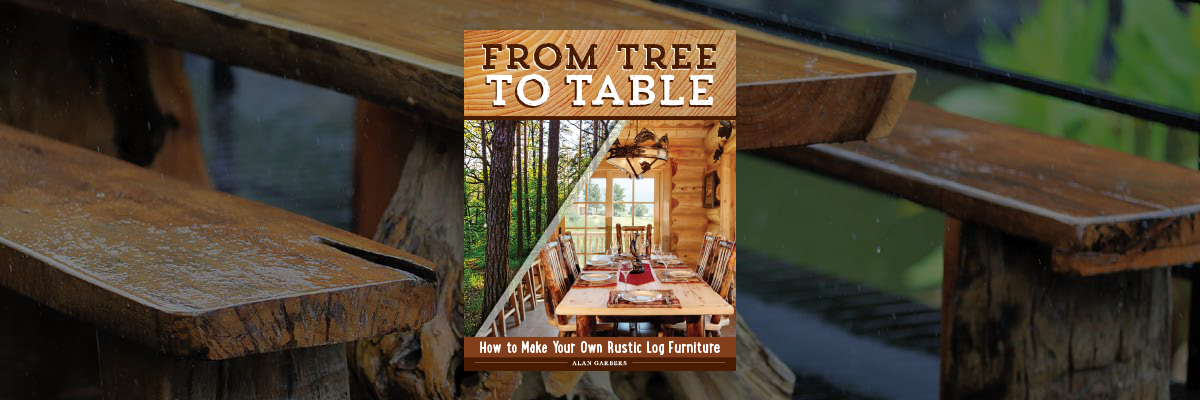
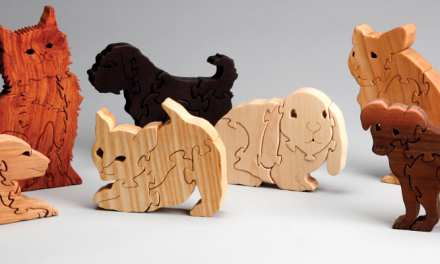
From Tree to Table: Why Rustic and Log Furniture?
By Alan Garbers in From Tree to Table – Get 25% off with code “Winter25” until 2/3/2019.
There are many reasons why folks love rustic and log furniture. For some of us, the deep earthy colors of a hickory chair or table is a visual reminder of a family vacation to one of the may United States’ National Parks. Others may have fallen in love with a piece of locally handcrafted furniture. Some may want to commemorate an old house, shed, or barn from a family homestead by using recycled material from them.
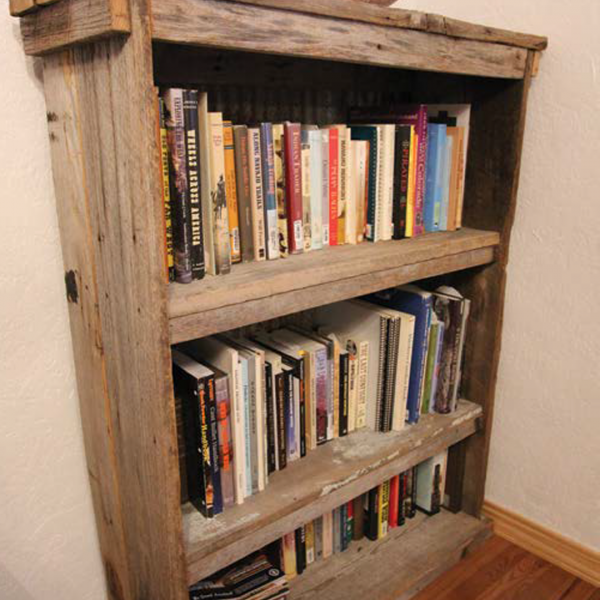 For example, I have a bookshelf I made from wood I had been squirreling away from various locations in which we lived over the decades. Some of the wood came from an old shed on a ranch we lived on, other boards came from an old shed that I used to make maple syrup in here in Indiana. I’d intended to give the bookshelf away, but as I built it, I realized I was making a visual reminder of all the places I had fond memories of. The bookcase was a piece of me, and I of it. I realized I couldn’t part with it. The bookcase sits next to me now as I write this.
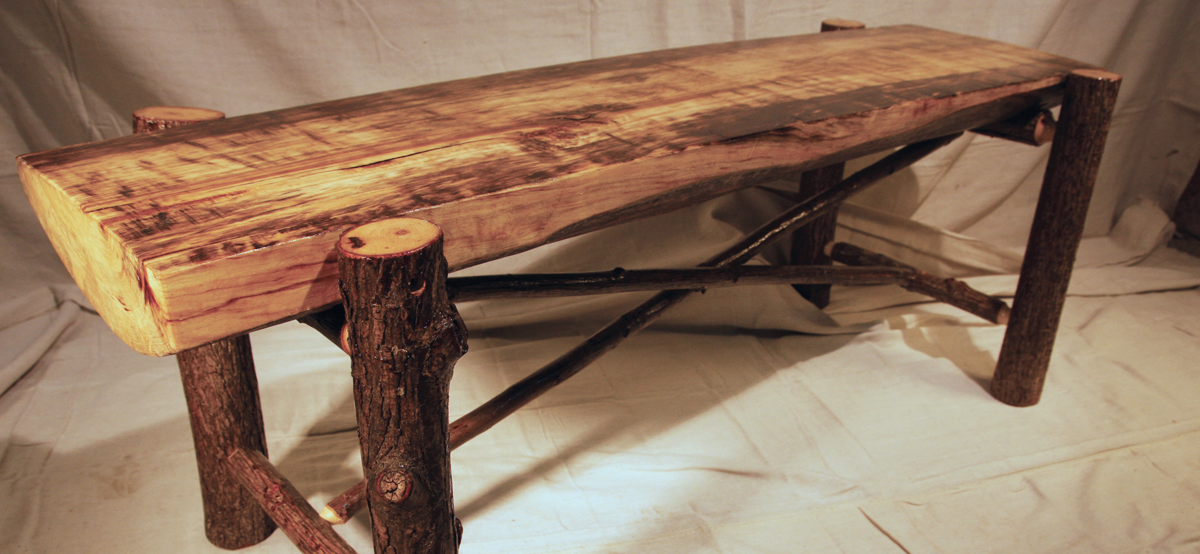
Whatever the reason is that you’re interested in log furniture, this log bench design is a classic yet versatile piece of furniture to have in your home or garden. You never know, it might just end up being a family keepsake!
Using Logs
While selecting trees, we need to realize what size of logs we need for the project. Two-inch-diameter (50 mm) logs work great for bar stools. Four- to six-inch (100–150 mm) logs are about right for bedposts. Three-inch (75 mm) logs work well for crosspieces on a headboard. Small saplings of various sizes work well for braces and decorative members. Bear in mind that humans like symmetrical things. We like to see things that match in color and size. Be sure to cut enough wood of matching size to do the project. In fact, cut extra wood. Why? Because it takes a long time for wood to dry, and running out of wood can delay a project for a year or more. For more techniques on sourcing wood, removing the bark, drying, insects and more, check out From Tree to Table.

From Tree To Table
Get 25% off with code “Winter25” until 2/3/2019.
Build rustic log furniture from timber with Alan Garbers’s comprehensive guide on processing logs, slabs, and rough-cut lumber.
- Make one-of-a-kind cabin-style beds, tables, benches, lamps, coat racks, kiva ladders, and more.
- Learn which tree species look best with the bark on, and which work better with the bark off.
- Find out why wood may shrink, warp, or crack—and how to deal with rot, decay, and insects.
- Get practical, hands-on guidance for furniture-making techniques—from steam bending and joinery to sanding, gluing, and finishing.
“Alan Garbers gives you straight-shooting, well-seasoned advice, mixed with a sense of humor, on finding sources for log
furniture and building projects in the rustic style.” —Joanna Takes, Editor of Woodworker’s Journal
How to Build a Rustic Bench from Sourced Wood
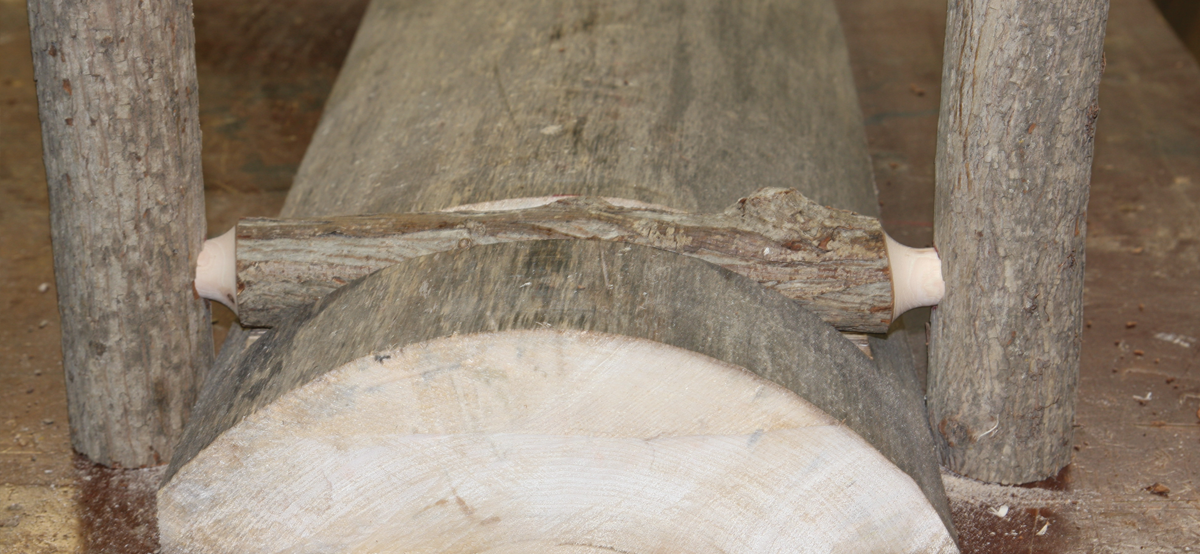
This project requires the use of a radial arm saw to make the dados. Start with a nice log slab. Many benches are 48″ (1.2 m) long and 12″ (300 mm) wide. In this style, the sides are cut off to provide a flat surface. A circular saw works well for this. Once the slab is the size required, measure in four inches (100 mm) for the dados that the cross pieces will rest in.
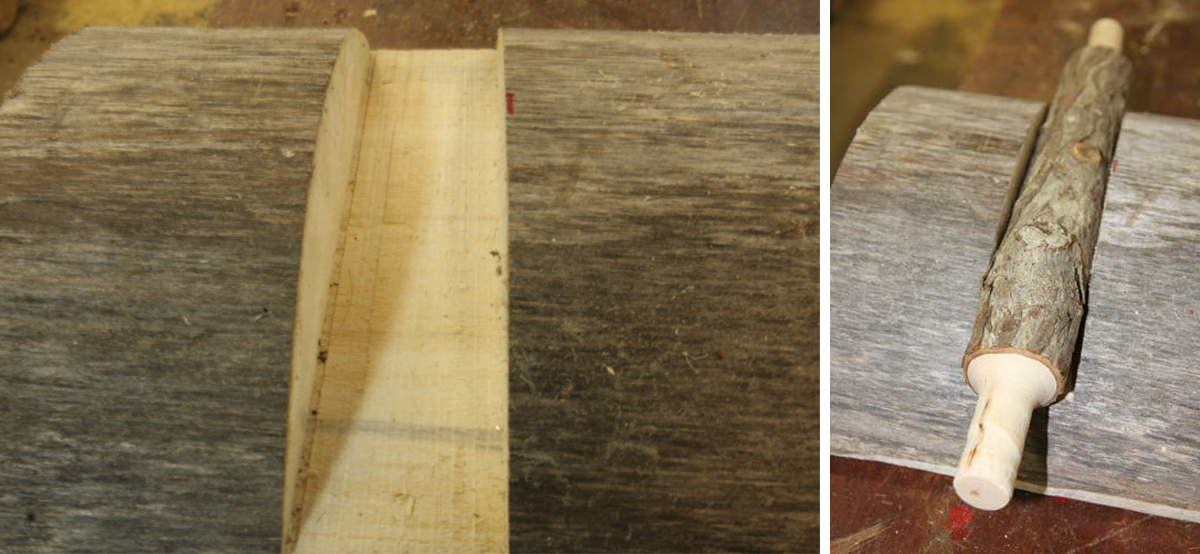
Cut the dado two inches (50 mm) wide. The thickness of the remaining slab can vary but this was made two inches (50 mm). Next cut two crosspieces roughly six inches (150 mm) longer than the bench is wide, to allow making the tenons. If you would like a smooth mating surface, run the two crosspieces through a jointer to give them a level strip to mate the dado cut.
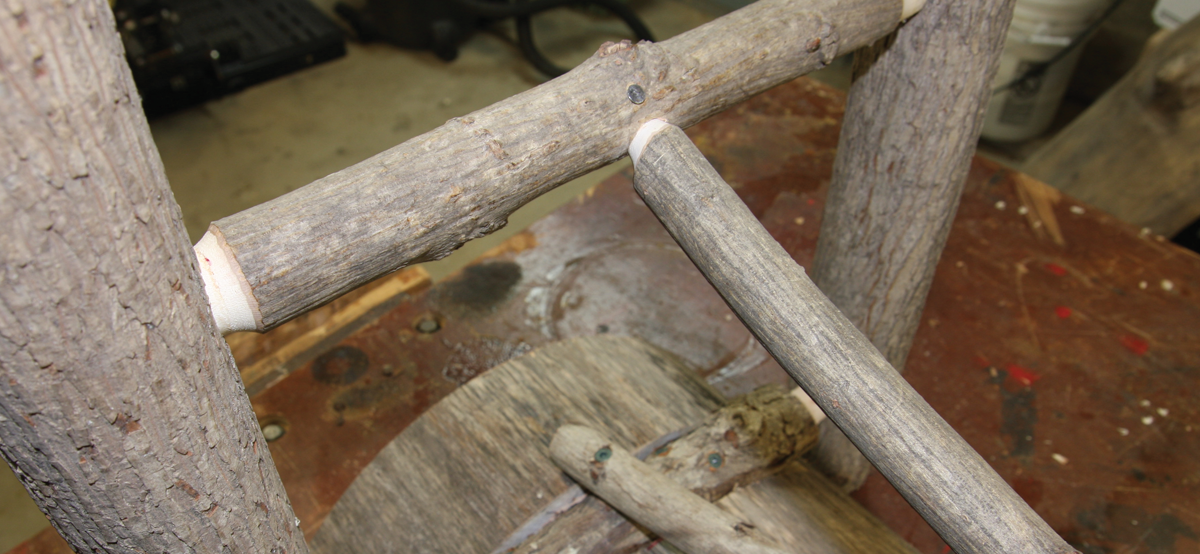
Cut the tenons, taking care not to cut them too far. Cut four 18″ (450 mm) legs. With the crosspieces lying in the dado cuts,
line up the legs next to the tenons and mark where the tenon holes need to be. Drill the tenon holes to match the crosspieces. If the crosspieces are too long to allow the leg to fit up tight to the slab, trim the crosspiece tenon until it does.
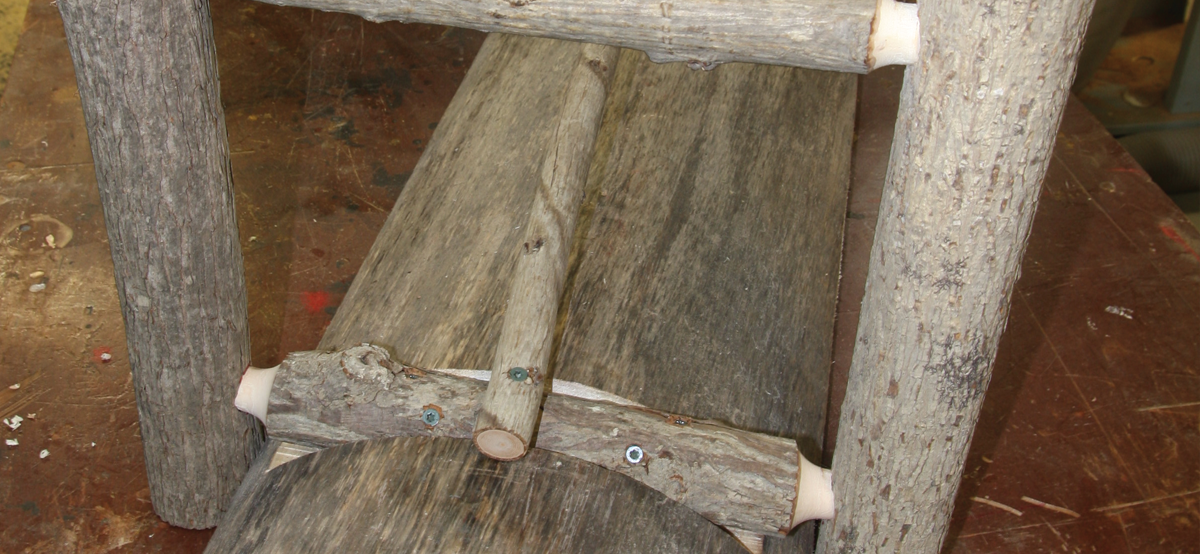
Once the legs fit correctly, measure and cut brace tenon holes and brace crosspieces. Fit them together to match the upper crosspieces. Assemble the crosspieces and legs together, and when everything looks correct, screw and pin the pieces.
With the legs attached to the bench top, cut and fasten cross braces to prevent wobble. Fastening the two braces together where they cross adds strength and rigidity.
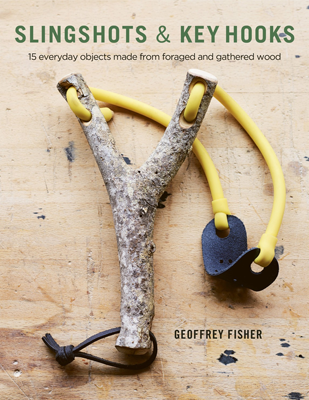
Transform found wood into artfully designed crafts! From slingshot and cup and ball game to key hooks and table brushes for your home, this detailed guide gives you basic woodworking techniques with 15 step-by-step projects.

Build it yourself—in just two days! Inside this step-by-step guide, you will find 35 practical projects including shelving, a bed, coffee tables, a gothic-style bathroom cabinet, a Shaker-style kitchen cabinet, an Adirondack chair, and more.
Get Exclusive Email Offers And Receive 15% OFF On Your First Book Order!

Recent Comments