


12 Days of Carvemas: Carve an Angel Tree Topper
By Janet Bolyard
Looking for Christmas Carving ideas? Look no further. Welcome to day 5 of Carvemas. Today we'll be carving an Angel Tree Topper. To make your own unique Christmas keepsake, start with the basic pattern provided here and let your imagination run wild. I like to make simple sketches and then develop my ideas in clay; you might head straight to the wood with your tools. My angel is simple so the admirer’s imagination can fill in the details. Feel free to customize the hair, gown, face, feathers, and finish to suit your taste and decor.
Angel Tree Topper Instructions

Drill a 6" (152mm) deep hole
Transfer the pattern to the blank. Find the bottom of the gowns center. Clamp the wood onto the drill press tabletop or, using a spade bit to drill a 6" (152mm) deep hole.

Cut the Side and Front Views
Cut the side view with a band saw. Then, tape wood pieces back together using clear packing tape and cut the front view. Remove the tape and waste wood.

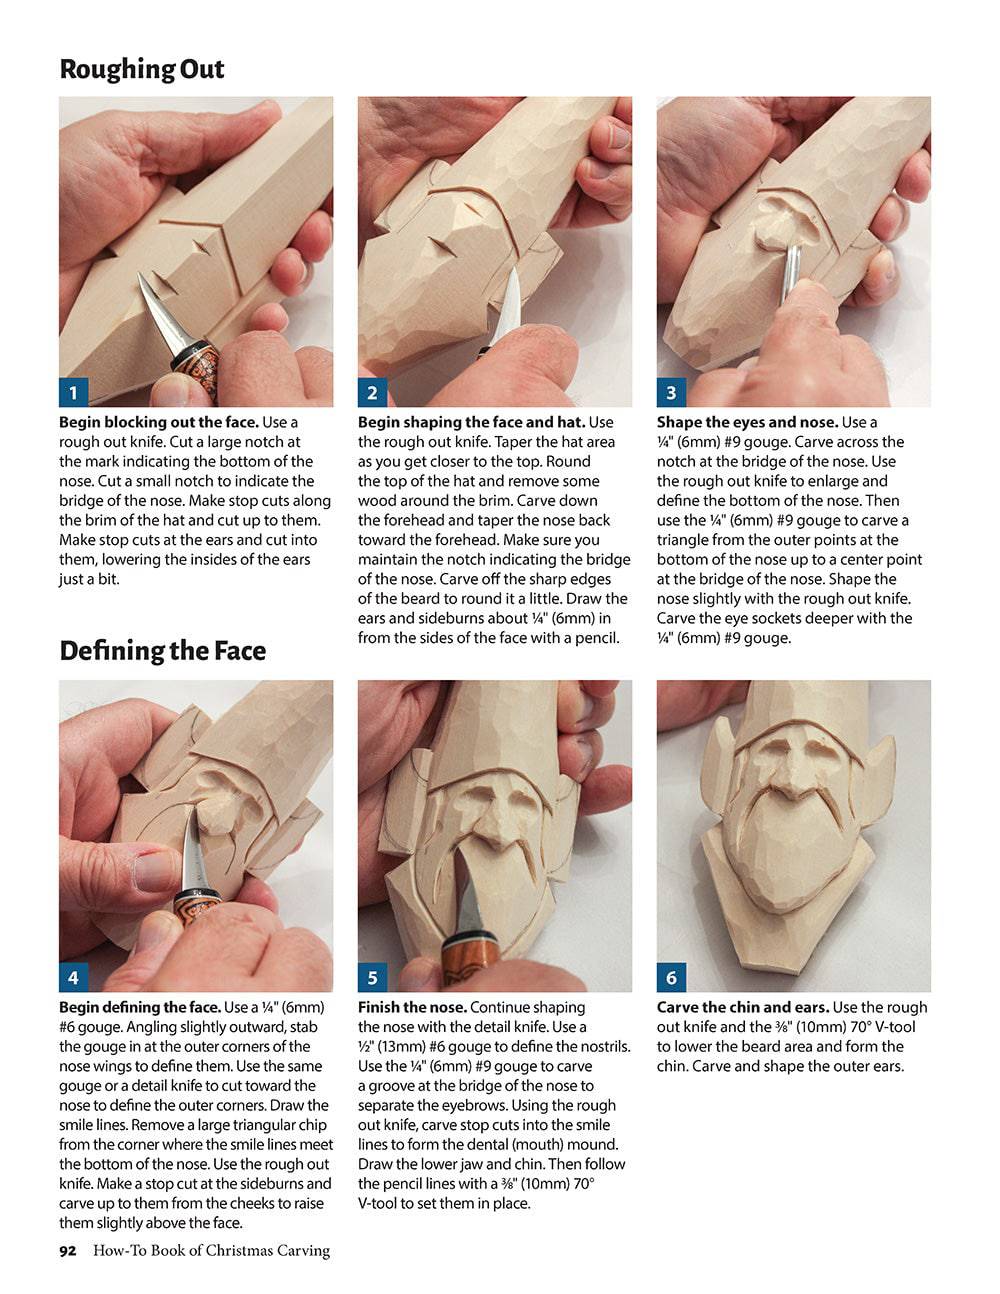
Rough Out the Facial and Body Features
I used a #5 palm gouge for most of the roughing out and shaping. To carve the angel’s face and hair, I used #5, #7, #8, and #11 gouges, and then mildly shaved the wood to remove sharp edges and gouge marks.

Carve the Wings
To carve the wings, draw multiple layers of feathers. Carve from the top of the wings down to the tips. Keep the knife sharp, and carve the tips of the wings carefully; the tips become thin and fragile with carving and handling.

Carve the Horn
Carve the horn separately and paint it, if desired. Gently carve a hole in the angel’s mouth and a slight groove in the hand, and rest the horn in place. You can finish the angel in any way you choose; I left mine natural to emphasize her simple beauty

Find More Christmas Carving Patterns
Share information about your brand with your customers.-
 Media gallery
-
 Media gallery
-
 Media gallery
-
 Media gallery
-
 Media gallery
-
 Media gallery
-
 Media gallery
-
 Media gallery
-
 Media gallery
-
 Media gallery


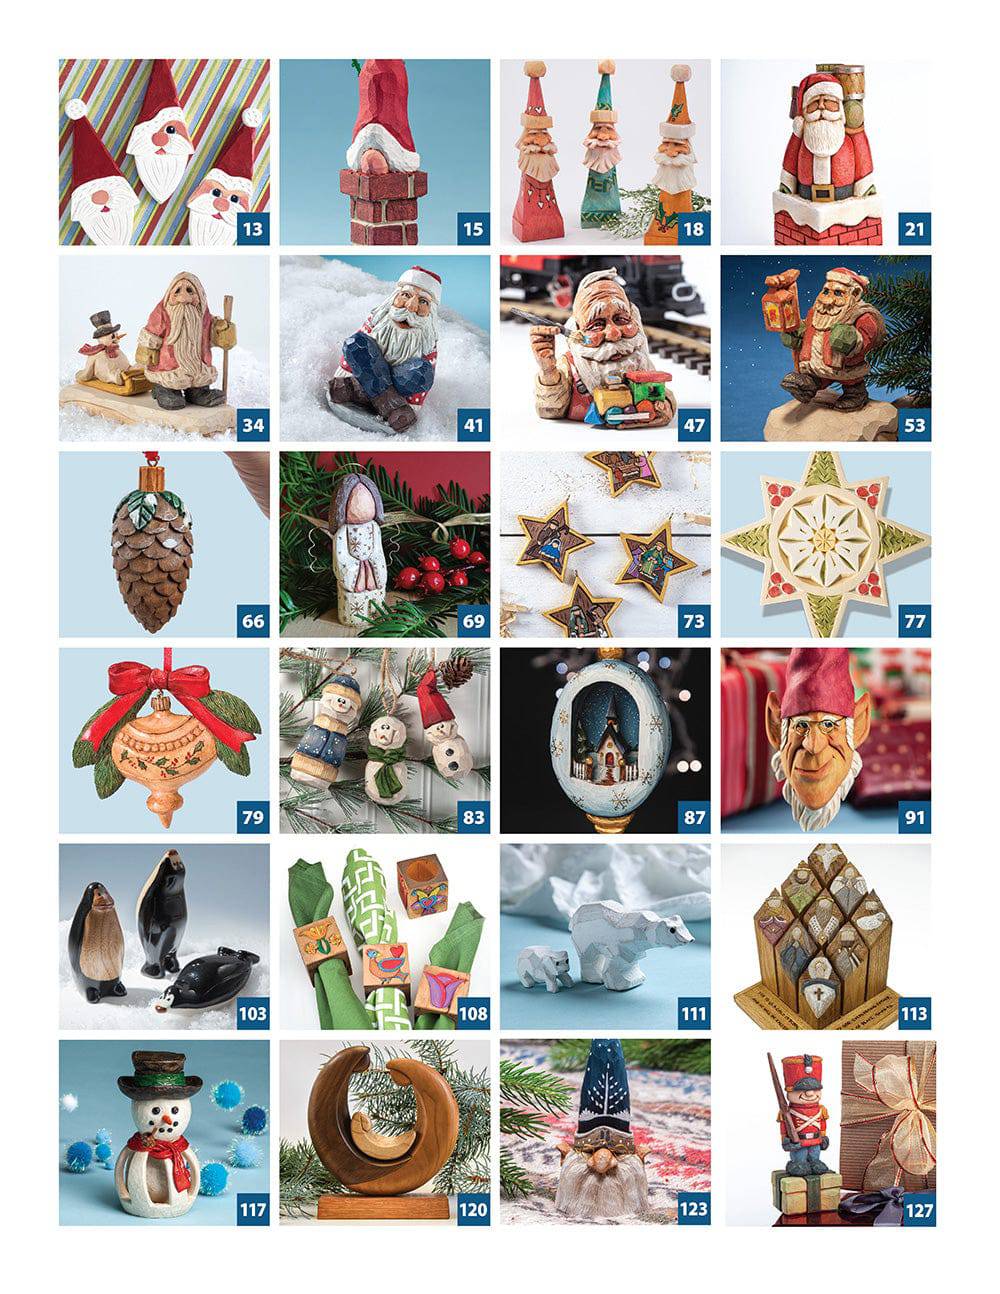
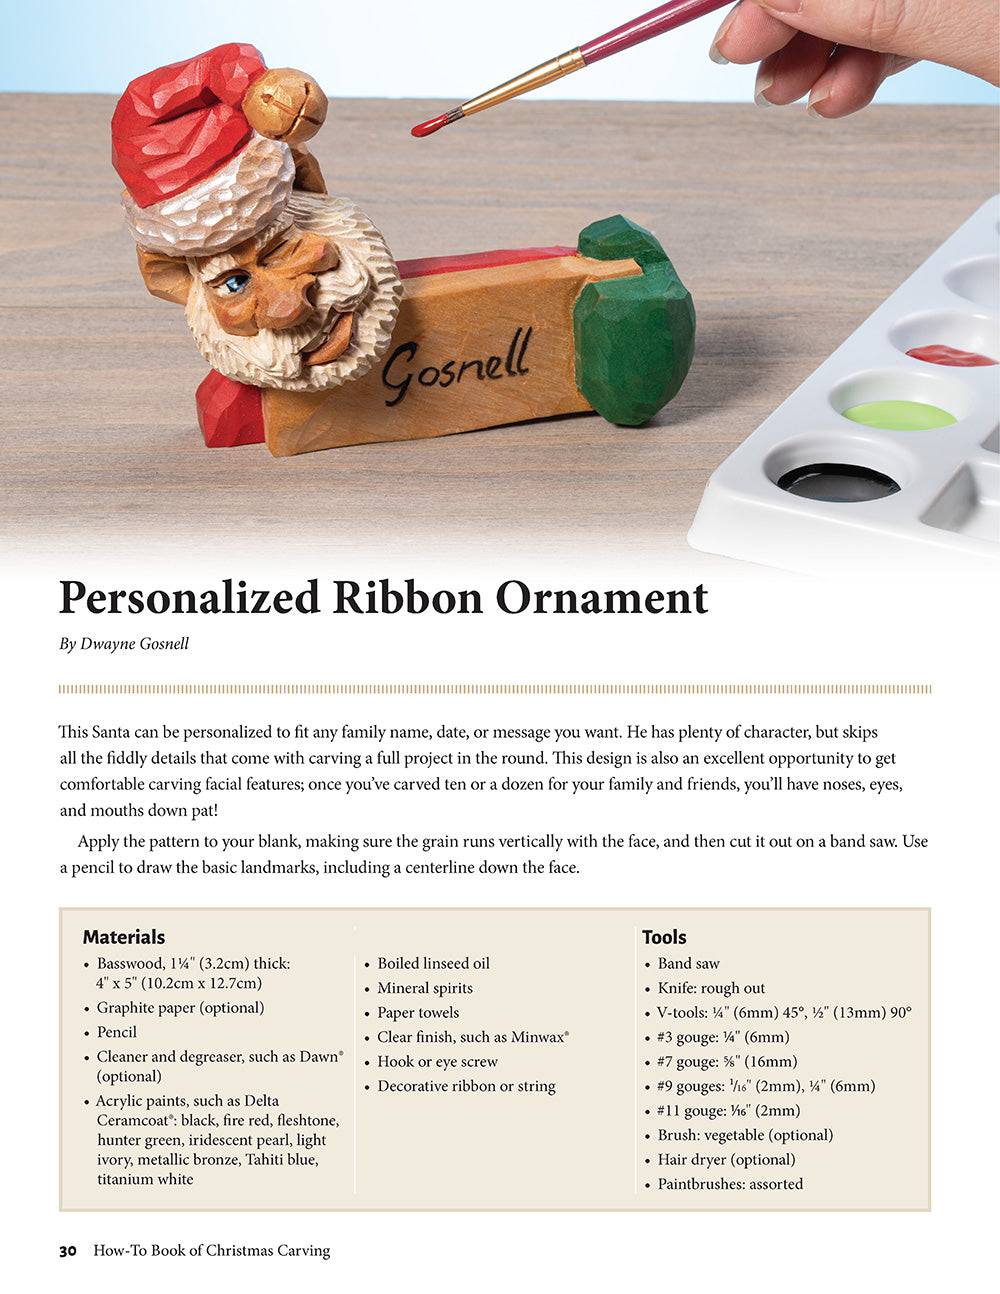
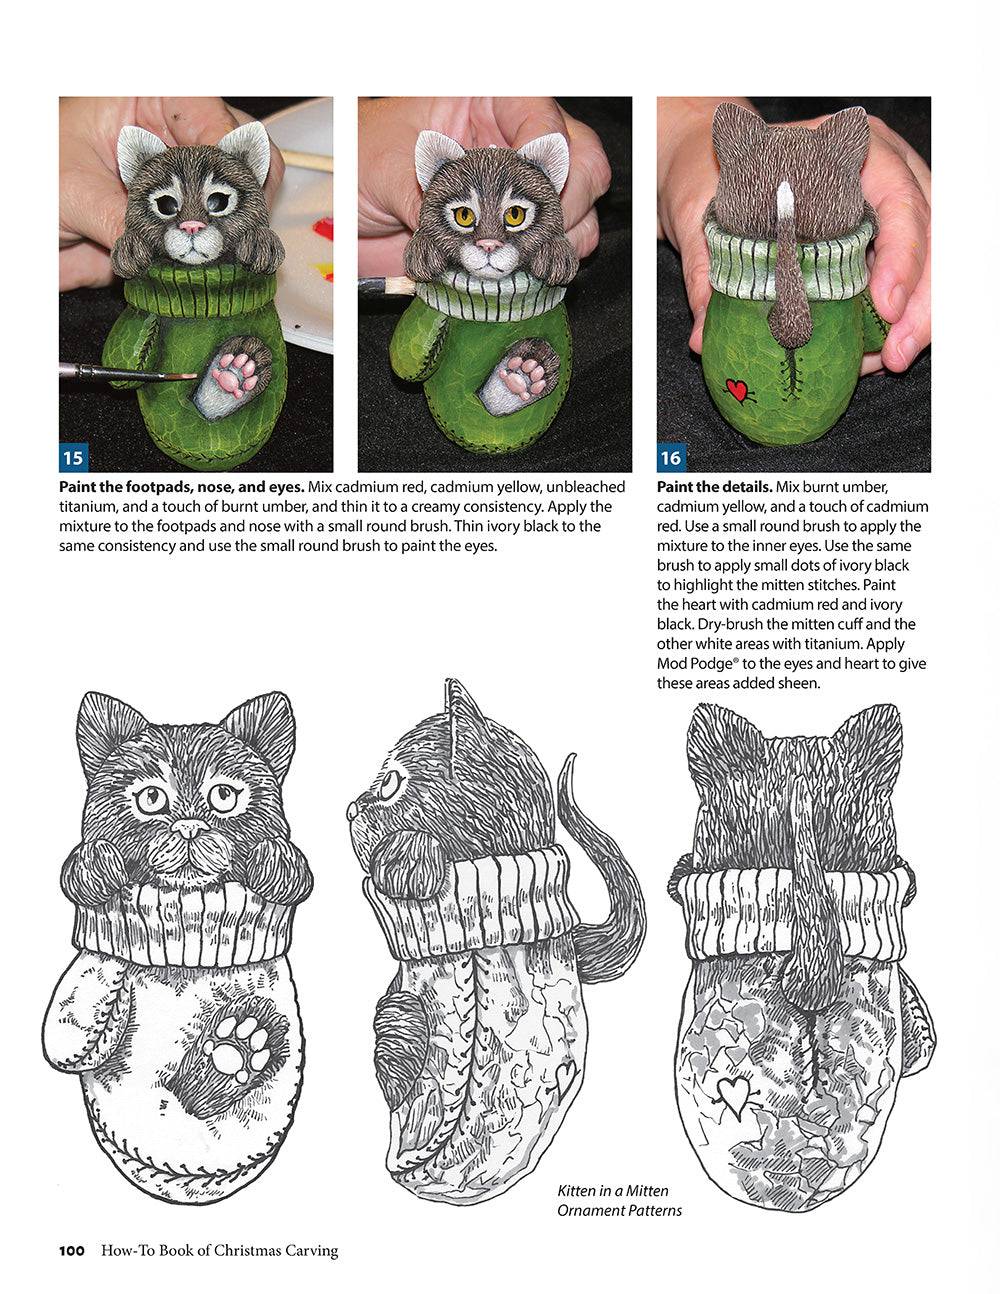
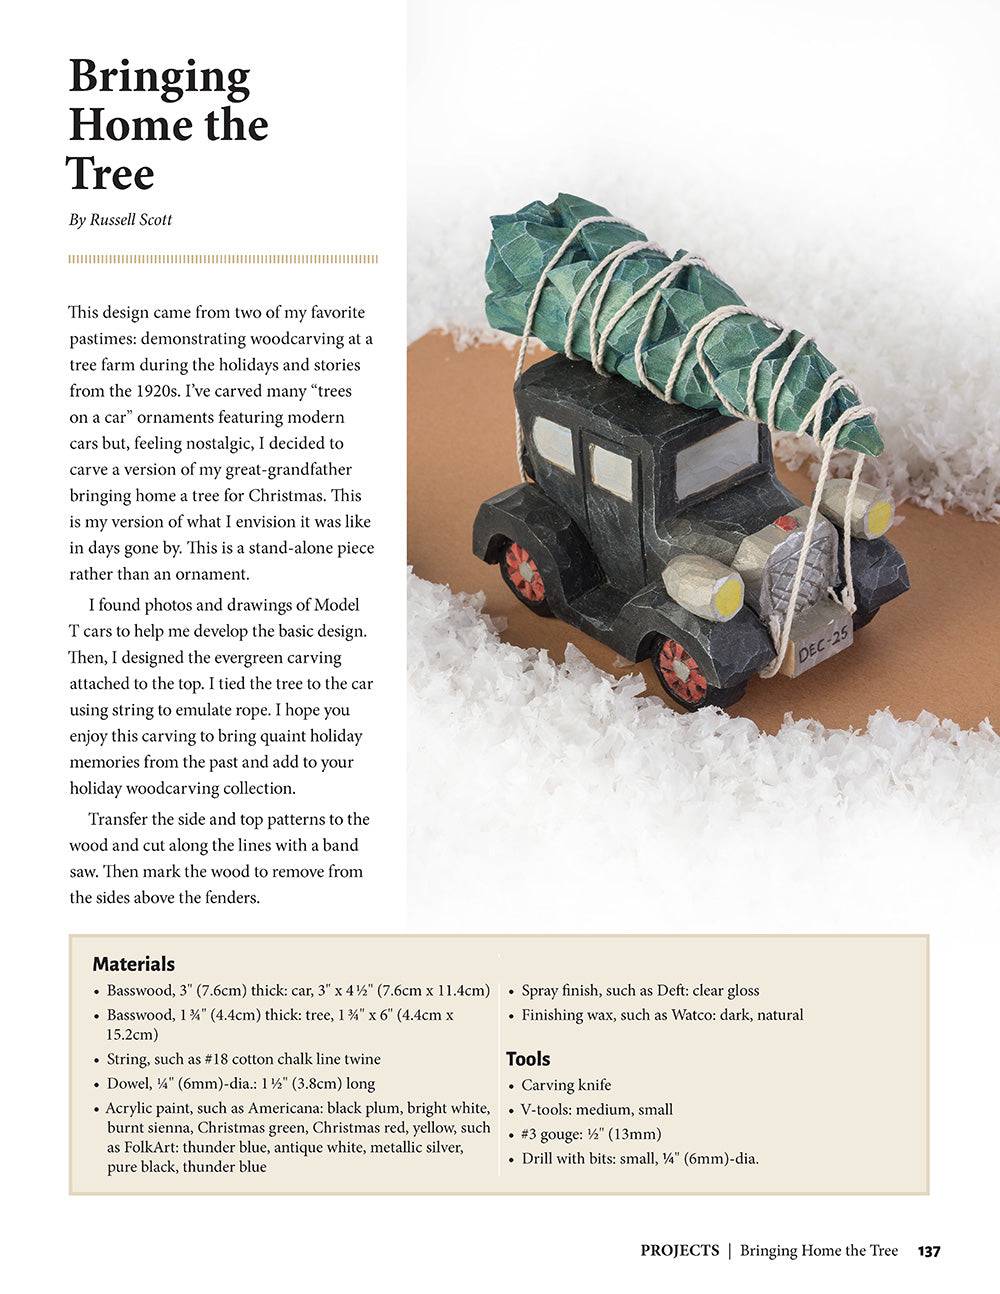
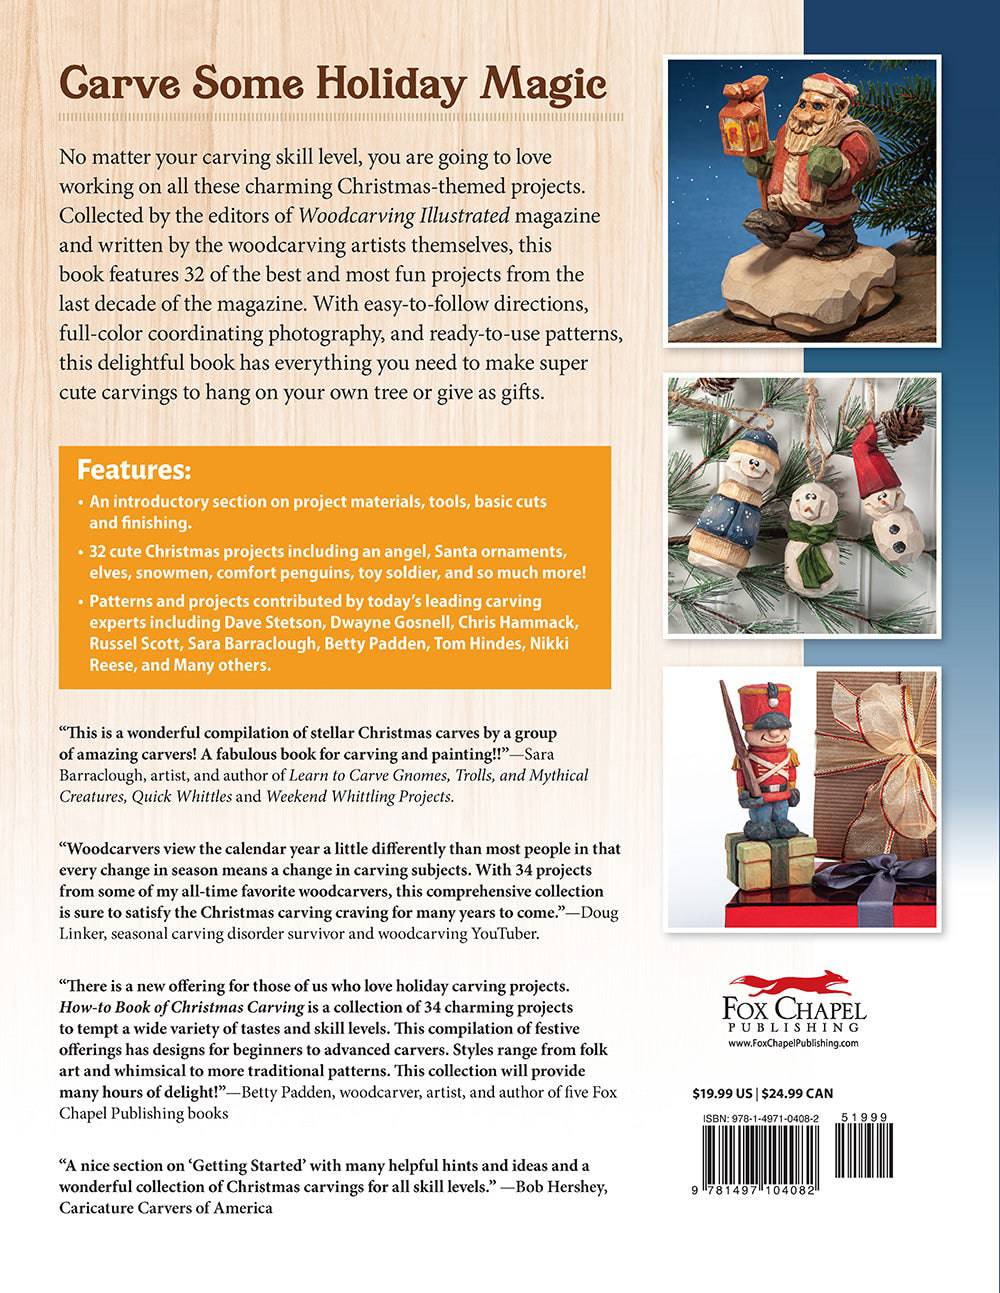
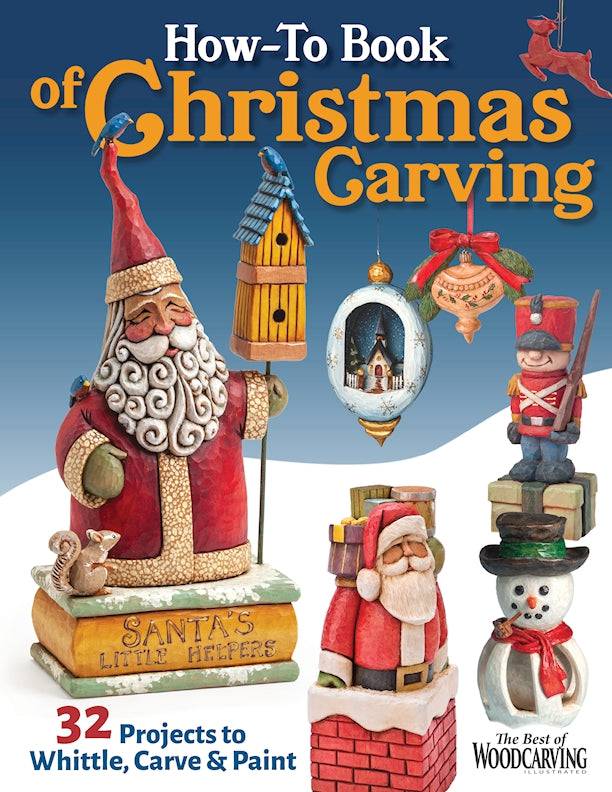
How-To Book of Christmas Carving
- Regular price
- $19.99 USD
- Regular price
-
- Sale price
- $19.99 USD
- Unit price
- per
Description
Description
Couldn't load pickup availability

Notified by email when this product becomes available
More Holiday Carving Patterns
Use Code: CARVEMAS for 20% off select titles.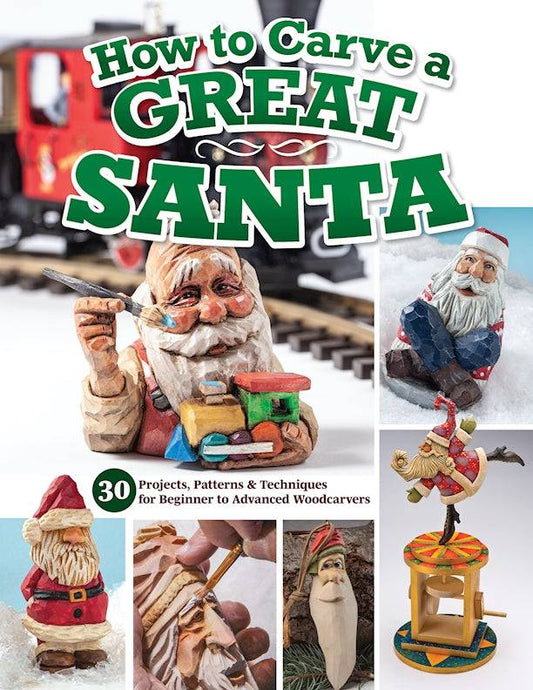
How to Carve a Great Santa
- Regular price
- $19.99 USD
- Regular price
-
- Sale price
- $19.99 USD
- Unit price
- per
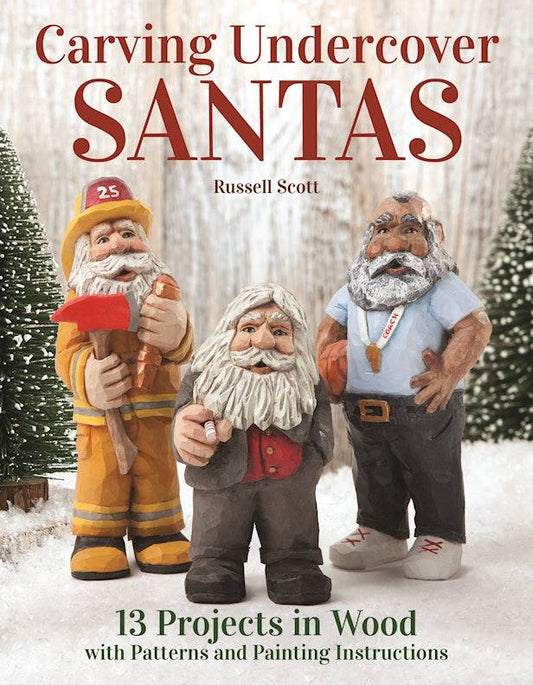
Carving Undercover Santas
- Regular price
- $14.99 USD
- Regular price
-
- Sale price
- $14.99 USD
- Unit price
- per

How-To Book of Christmas Carving
- Regular price
- $19.99 USD
- Regular price
-
- Sale price
- $19.99 USD
- Unit price
- per
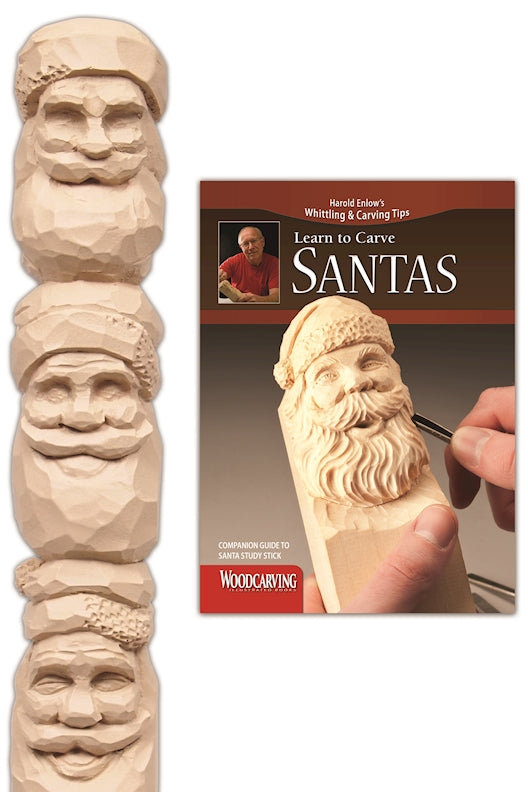
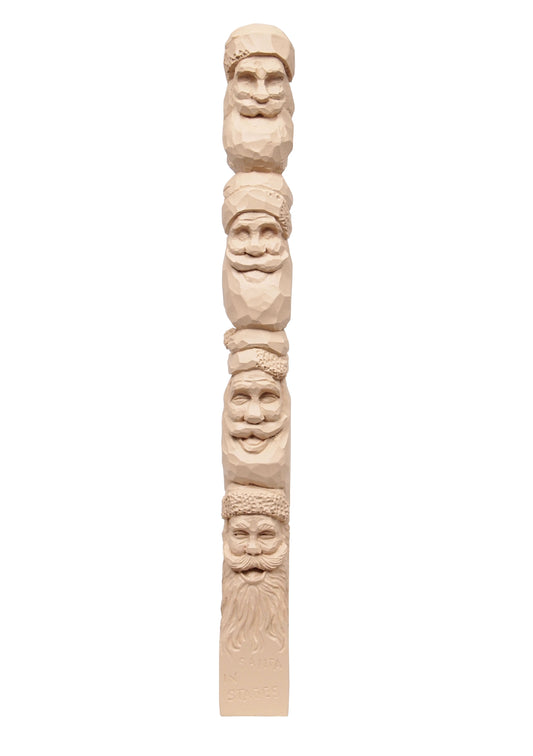
Santas Study Stick Kit (Learn to Carve Faces with Harold Enlow)
- Regular price
- $24.99 USD
- Regular price
-
- Sale price
- $24.99 USD
- Unit price
- per
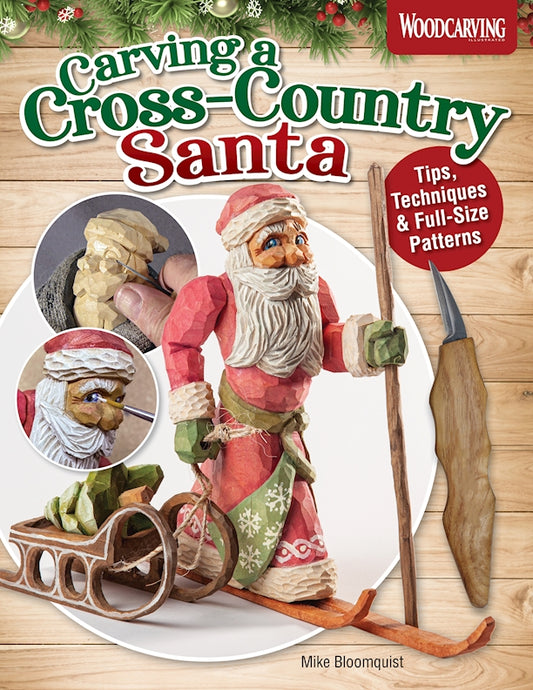
Carving a Cross-Country Santa
- Regular price
- $9.99 USD
- Regular price
-
- Sale price
- $9.99 USD
- Unit price
- per
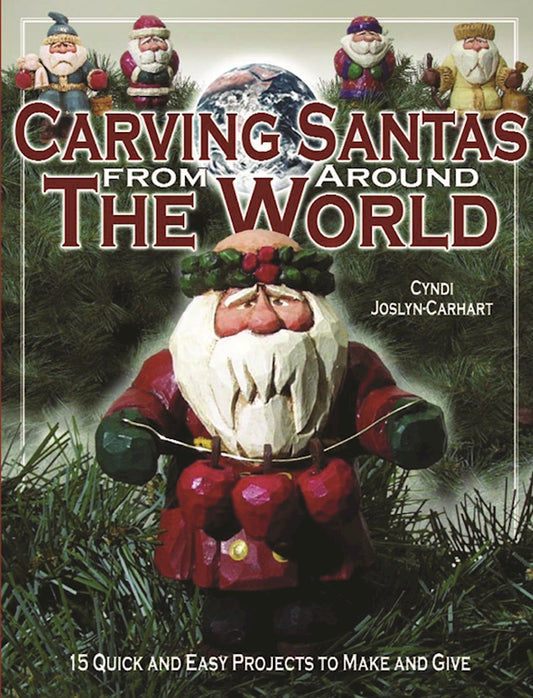
Carving Santas from Around the World
- Regular price
- $14.95 USD
- Regular price
-
- Sale price
- $14.95 USD
- Unit price
- per
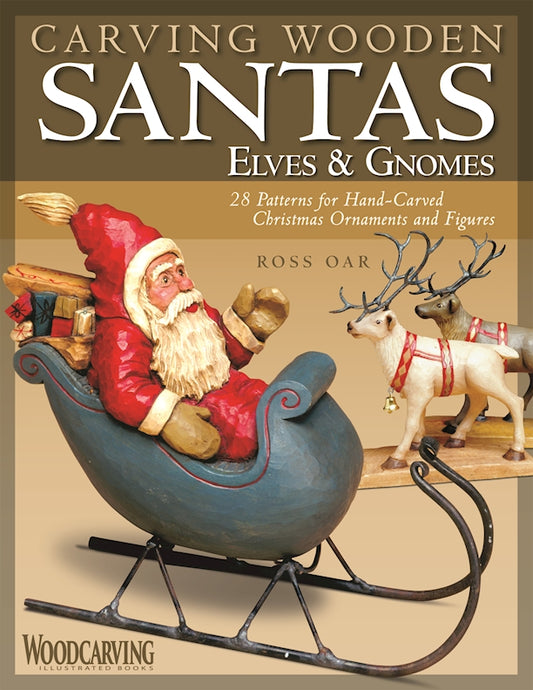

Carving Wooden Santas, Elves & Gnomes
- Regular price
- $17.99 USD
- Regular price
-
- Sale price
- $17.99 USD
- Unit price
- per
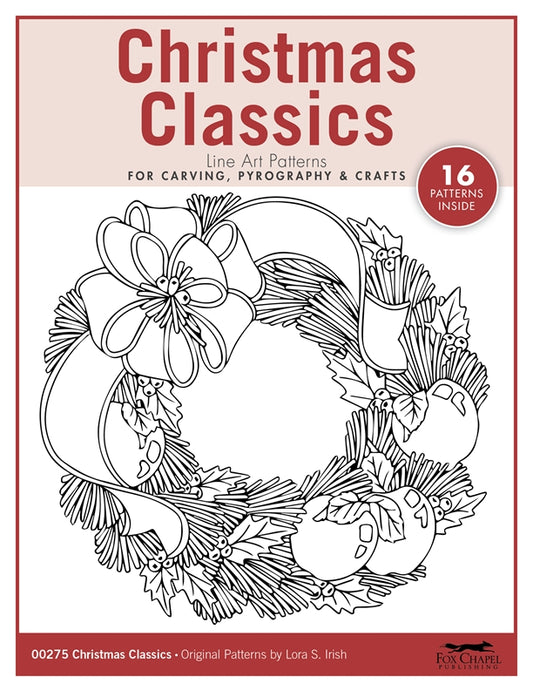
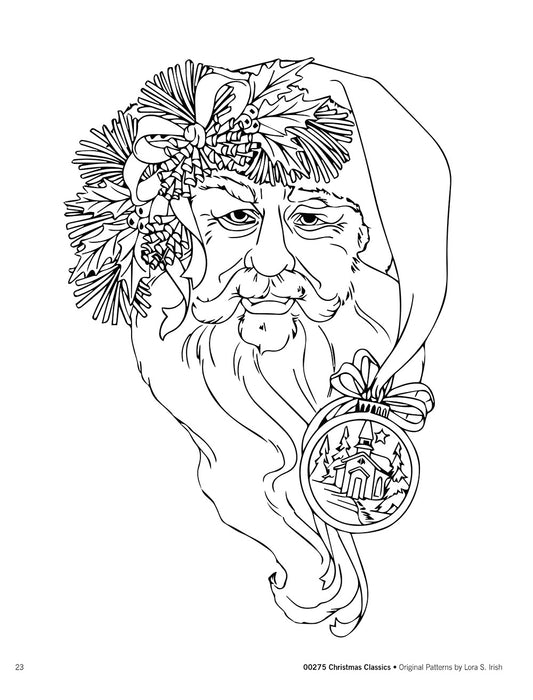
Christmas Classics Carving Patterns
- Regular price
- $12.00 USD
- Regular price
-
- Sale price
- $12.00 USD
- Unit price
- per