


12 Days of Carvemas: Carve a Smiling Santa Shelf Sitter
By: Roger Beane
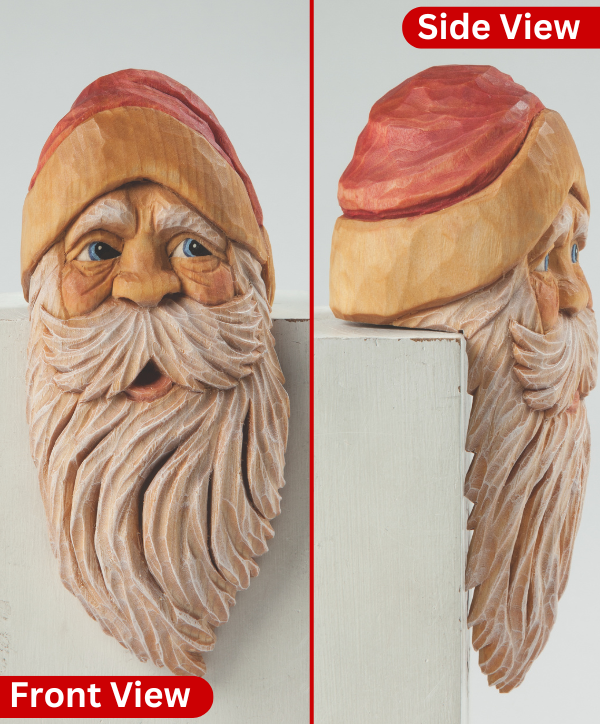
You can carve this easy holiday carving project quickly and place the smiling Santa on a shelf or mantlepiece for decor. Don't waste the scrap wood! Instead of wasting the rectangularscrap cut away to turn this fellow into a shelf sitter, keep it and carve it into a matching Santa. Use this patern as a reference along with your imagination and draw a few basic landmarks. If the carving doesn'tturn out, you really haven’t wasted any wood.
Trace the front-and-side-view patterns onto the basswood block.
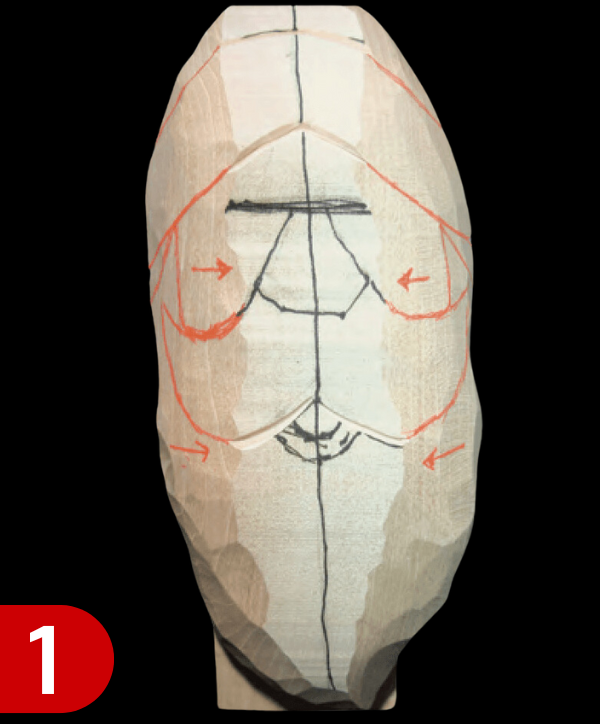
Cut the front view, but stop before cutting the scrap free. This gives you a flat surface when you cut the side view. Rotate the blank 90° and cut the side view. Then, return to the front view and free the scrap. Round the carving toward the centerline. Carve above and below the fur trim with a 1/4″ (6mm) V-tool.
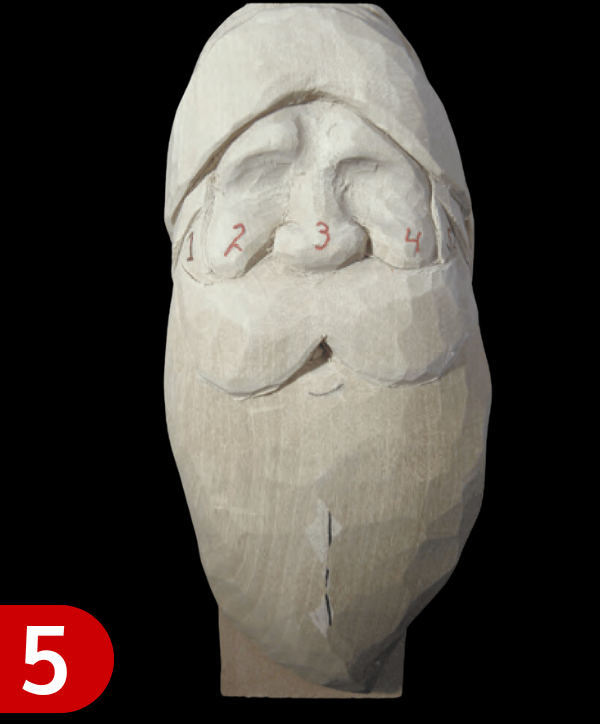
Separate the nose from the mustache
Use a V-gouge. Remove wood from the mustache to give the nose height. Use the knife to carve the bulbs on the sides of the nose. Remove a small triangle piece between the bulb and smile line. Shape the nose and wings. Use a 5/16″ (8mm) #7 gouge to round the bulb at an angle. Do not carve straight in. Use the same gouge to round the end of the eyebrows closest to the nose.
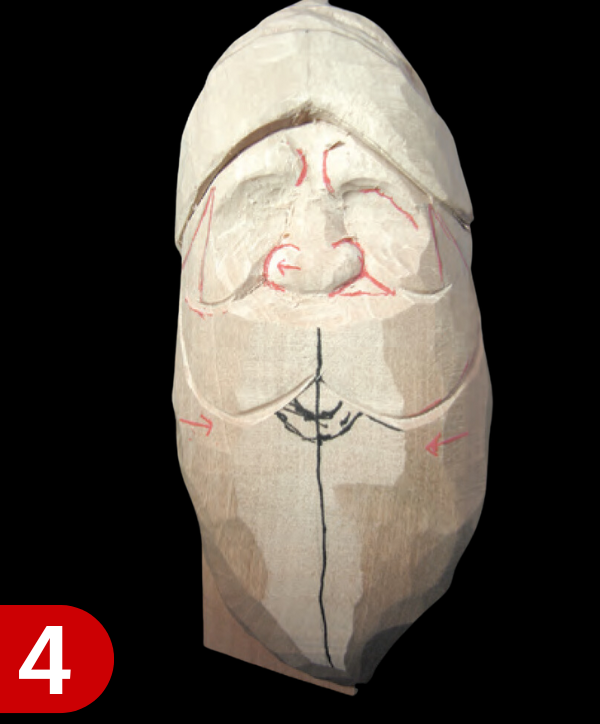
Carve the Outline
Use the 1/4″ (6mm) V-tool to carve the ouline of the face, mustache and the hair alongside the face. Make a stop cut in the V-grooves with the knife and shape these areas to the stop cuts. Make the temple the narrowest part of the face to make the cheeks more prominent.
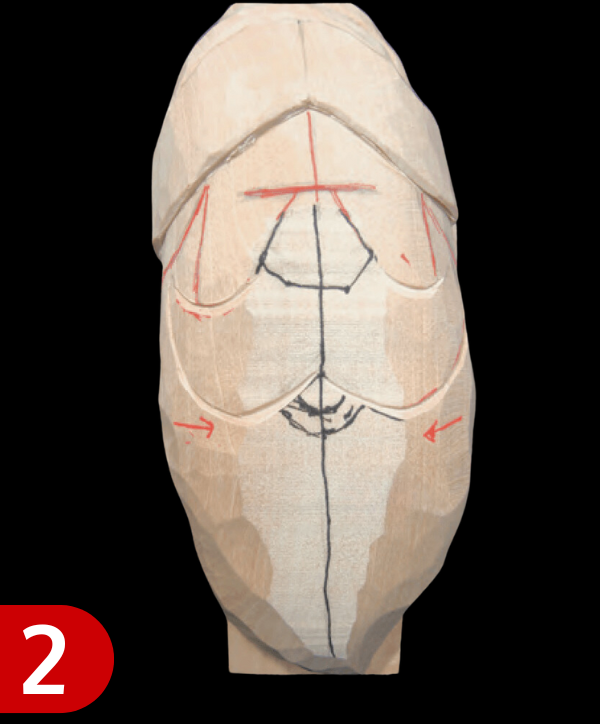
Separate the nose from the mustache
Using a V-gouge remove wood from the mustache to give the nose height. Use the knife to carve the bulbs on the sides of the nose. Remove a small triangular piece between the bulb and smile line. Shape the nose using a 5/16″ (8mm) #7 gouge to round the bulb at an angle. Do not carve straight in. Use the same gouge to round the end of the eyebrows closest to the nose.
Carve Out the Side of the Face
Cut up to the stop cuts made in step 4 using the tip of the knife. Remove a chip from either side of the nose to separate the nose from the cheeks. This creates the eye cavities. Round the tip of the nose with a series of small cuts.
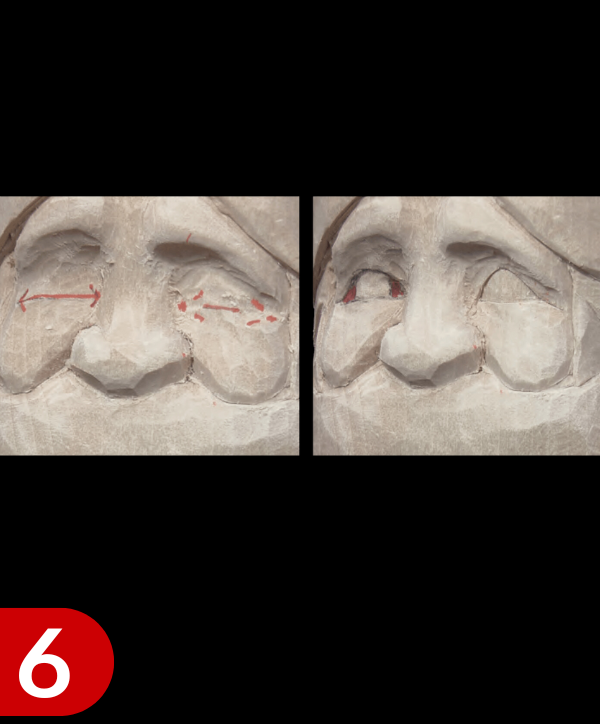
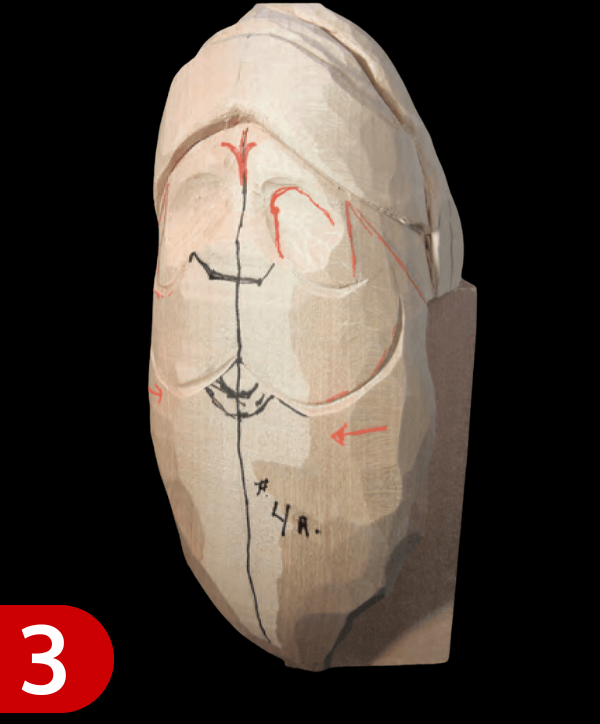
Begin Detailing the Eyes.
Draw the top of each bottom eyelid.Use a 1/8″ (3mm) gouge to deepen the inside and outside corners, which creates each eye mound. Use calipers to ensure that the eyes are the same size. Draw the bottom of each top eyelid. Make stop cuts on the lines with the knife. Remove small triangles from the corners of the eyes at a slight angle. Round the eyes. Carve the bottom lid under the top lid.

Carve the Top of Each Upper Eyelid
Use a sharp 1/8″ (3mm) V-tool. Use the same tool to carve the bags under the lower eyelids, the crow’s-feet, and the wrinkles.
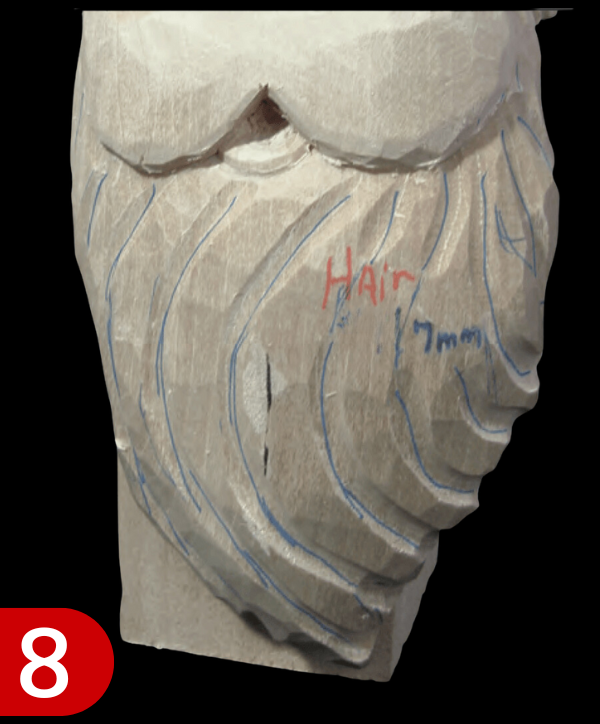
Shape the beard with S-Shaped Cuts
Use the 7mm #11 gouge. Start at the bottom. This technique, which I learned from Harold Enlow, produces soft-looking hair. Switch to a 3/16″ (5mm) #11 gouge, and make more S-shaped cuts adjacent to the previous cuts. After a short distance, merge with the previous cuts. Repeat the process with a 1/8″ (3mm) #11 gouge. Avoid any repeating pattern. Do not leave any flat spots. Deepen some random areas and use the knife or V-tool to carve accents.
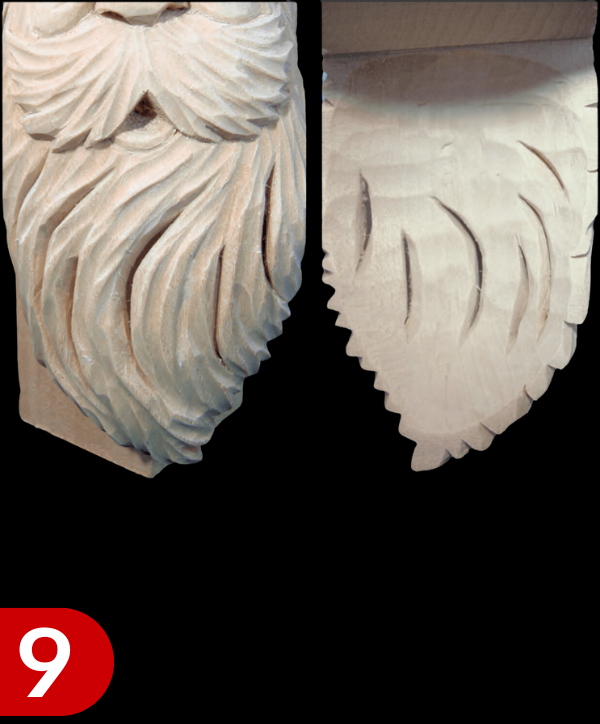
Mark the areas to pierce through in the beard.
Use a bent 3/8″ (10mm) #5 gouge to undercut the beard. Then, use the knife to pierce through the marked areas from front to back. Work from both sides to make the pierced slits larger and smoother. I learned this from Mark Gargac.
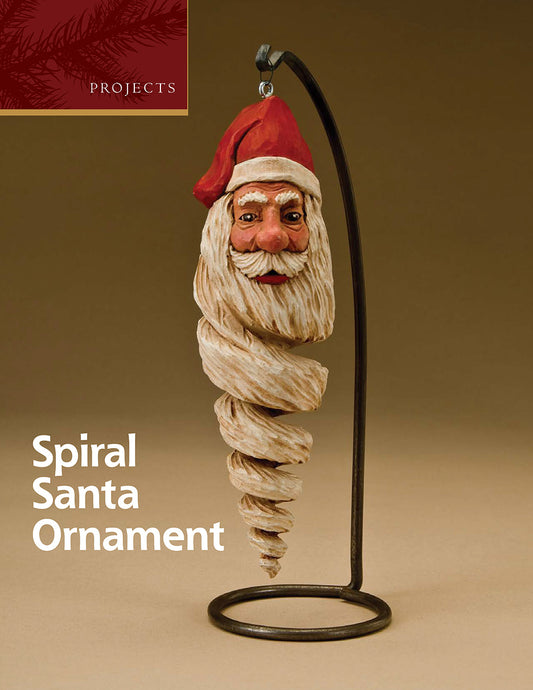
Find More Santa Carving Patterns
24 of the best and most loved Santa patterns from the pages of Woodcarving Illustrated.Notified by email when this product becomes available
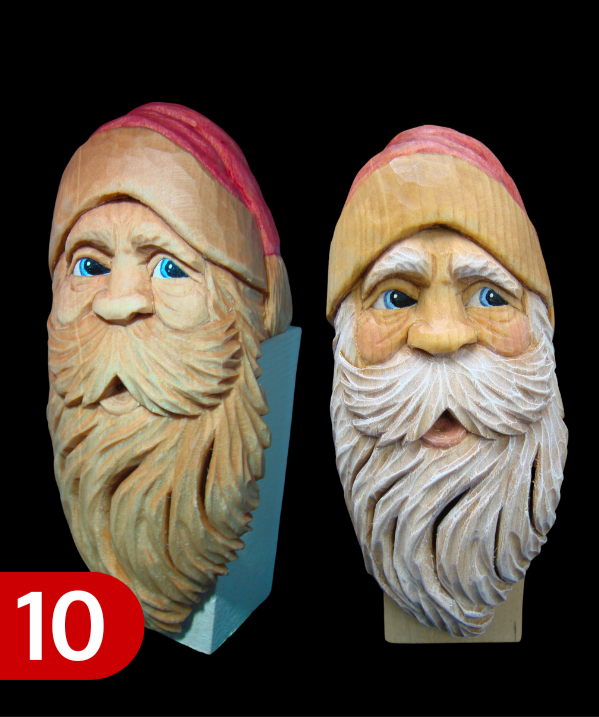
Painting Guide
Wet the carving, spray it with Simple Green All-Purpose Cleaner, and scrub it with a denture brush to remove any dirt and oil. Wipe the carving with a soft cloth. Start painting while the carving is still damp. This prevents the wood from absorbing the paint quickly and makes it easier to blend the paint.
Thin 1 part paint with 5 to 7 parts water. Dry the paint with a hairdryer as needed. When I paint eyes, I wear an Opti-Visor to see the small details. Before painting the hair and accents, coat the carving in a mixture of boiled linseed oil (BLO) and burnt sienna oil paint. To make this mixture, put 1" (2.5cm) of burnt sienna oil paint into a pint jar with a small amount of mineral spirits.
When it is completely dissolved, transfer it to a quart jar of BLO. Use a brush to paint this mixture into all areas of the carving. Let it set for three to five minutes and then wipe the excess off with a paper towel. Wet the paper towels thoroughly and dispose of them properly.
Let the carving dry overnight. After painting the details, let the carving dry overnight, and then spray it with satin Deft finish or apply Howard Feed-N-Wax. You might have to dry brush the hair again if you think it needs it.
Santa Carving Collection
Browse our selection of holiday carving projects.
How to Carve a Great Santa
- Regular price
- $19.99 USD
- Regular price
-
- Sale price
- $19.99 USD
- Unit price
- per
Carving Undercover Santas
- Regular price
- $14.99 USD
- Regular price
-
- Sale price
- $14.99 USD
- Unit price
- per
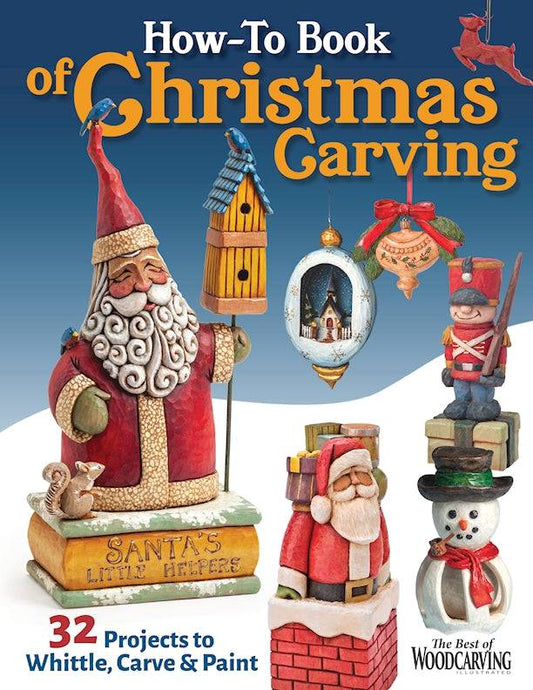
How-To Book of Christmas Carving
- Regular price
- $19.99 USD
- Regular price
-
- Sale price
- $19.99 USD
- Unit price
- per
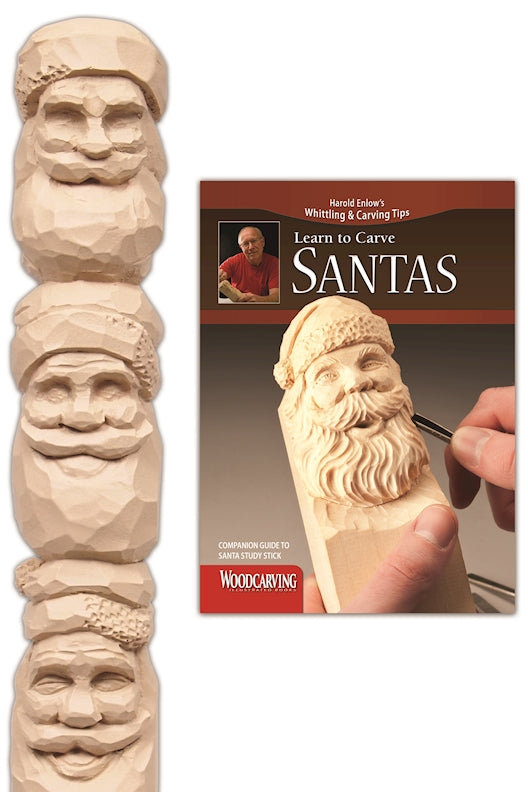
Santas Study Stick Kit (Learn to Carve Faces with Harold Enlow)
- Regular price
- $24.99 USD
- Regular price
-
- Sale price
- $24.99 USD
- Unit price
- per
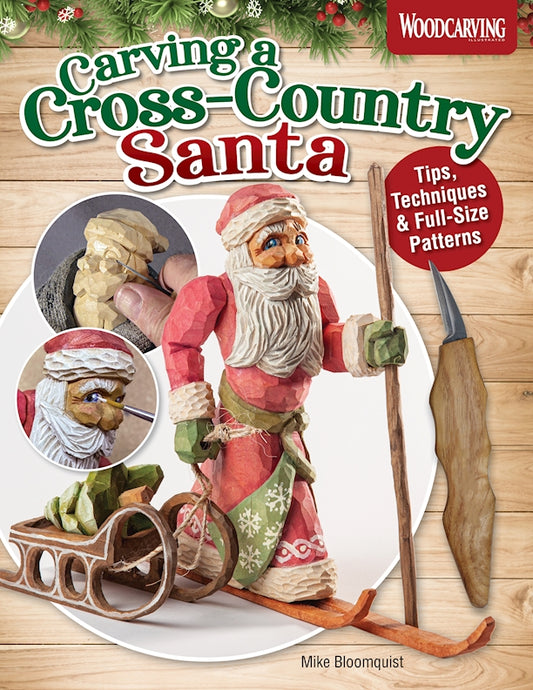
Carving a Cross-Country Santa
- Regular price
- $9.99 USD
- Regular price
-
- Sale price
- $9.99 USD
- Unit price
- per
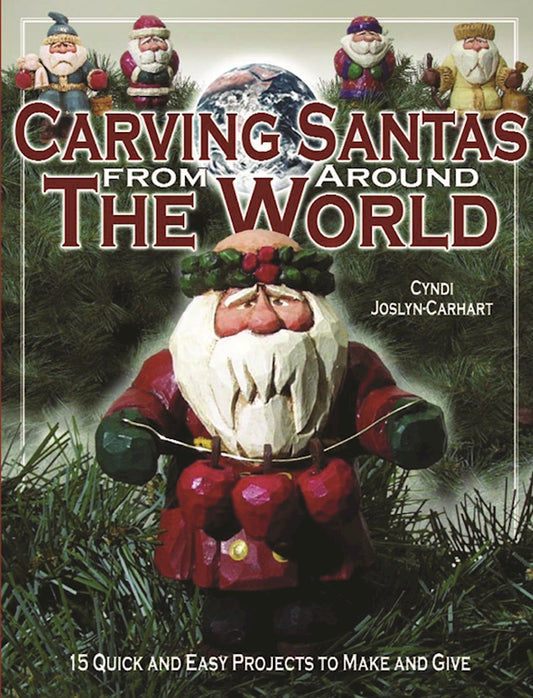
Carving Santas from Around the World
- Regular price
- $14.95 USD
- Regular price
-
- Sale price
- $14.95 USD
- Unit price
- per
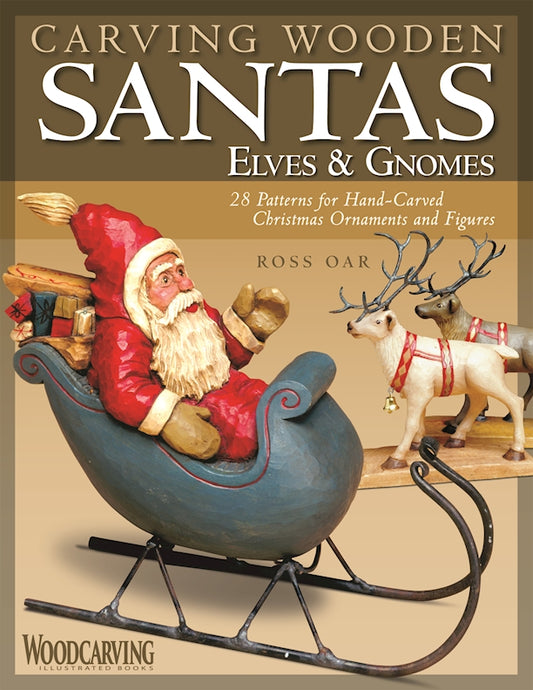
Carving Wooden Santas, Elves & Gnomes
- Regular price
- $17.99 USD
- Regular price
-
- Sale price
- $17.99 USD
- Unit price
- per
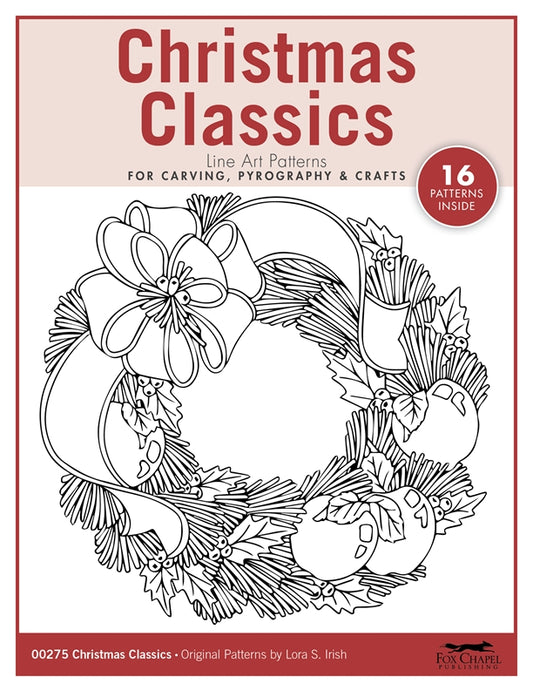
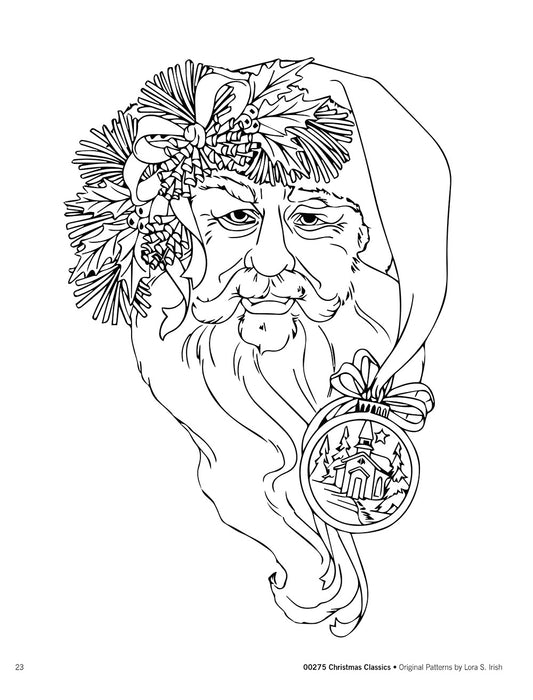
Christmas Classics Carving Patterns
- Regular price
- $12.00 USD
- Regular price
-
- Sale price
- $12.00 USD
- Unit price
- per