


Free Pattern: Fretwork Shadow Box
By Gabriel Schama
This design may remind you of a rising or setting sun, flowers, snowflakes, or New York City’s Chrysler Building. Create it by cutting layers of fretwork and gluing them together to form one piece.
Materials and Tools
Tools
- Blades: #2/0
- Drill with bits: 1/16″ (2mm)
- Paint roller: low nap type
- Disposable paint tray
- Bricks or scrap 2x4s
- Clamps or weights
Materials
- Plywood, 1/8″ (3mm) thick: 8 each 7 3/4″ (19.7cm) square
- Spray adhesive
- Tape: blue painter’s; packaging
- Sandpaper
- Wood glue
- Finish, such as lacquer spray
Making the Project
Cut the blanks to size. Cover seven of them with blue painter’s tape, and attach the patterns with spray adhesive. Drill the blade-entry holes and cut the frets in each piece. Carefully remove the patterns and tape, and sand away any fuzzies. Note: Because it’s easier to cut thicker wood, you may wish to stack three or four blanks for each layer and make multiple projects at once.
To assemble the project, align two bricks or thick scraps of wood to form a right angle. Place the cut pieces on the table in front of you in layer order. Spread some wood glue in a disposable paint tray and rub the paint roller in it to form a thin, even layer. Roll glue onto the back of Layer 7 and place it on Layer 8. (Note: Layer 8 is a 7-3/4″ or 19.7cm square solid backing board). Remove any glue squeeze-out, and use the angle guide to adjust the layers until they’re perfectly square. Roll glue onto the back of Layer 6 and add it to the stack, squaring the edges and removing any glue squeeze-out as you go. Glue the remaining layers. Clamp or weight and let dry, and then spray with lacquer.
Find More Fretwork Patterns
-
 Media gallery

Fantastic Fretwork Patterns for the Scroll Saw
- Regular price
- $16.99 USD
- Regular price
-
- Sale price
- $16.99 USD
- Unit price
- per
Description
Description
Couldn't load pickup availability

Notified by email when this product becomes available
Get Your Holiday Scroll On
Browse our selection of puzzle titles.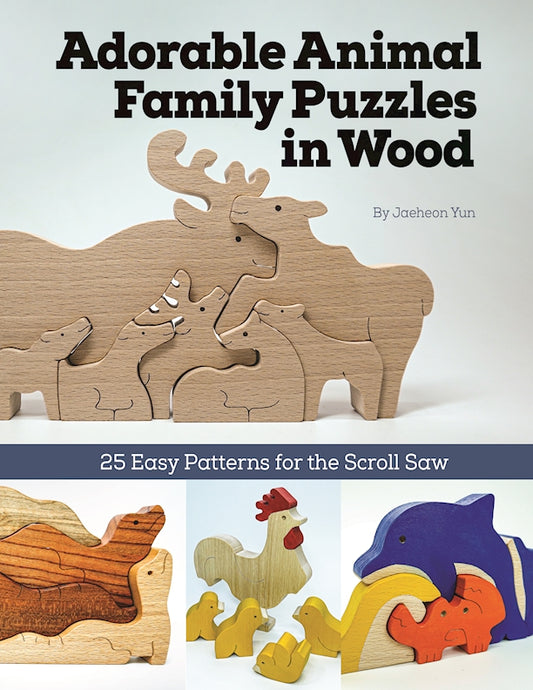
Paperback / softback
Adorable Animal Family Puzzles in Wood Adorable Animal Family Puzzles in Wood Adorable Animal Family Puzzles in Wood Adorable Animal Family Puzzles in Wood
- Regular price
- $12.99 USD
- Regular price
-
- Sale price
- $12.99 USD
- Unit price
- per
Paperback / softback
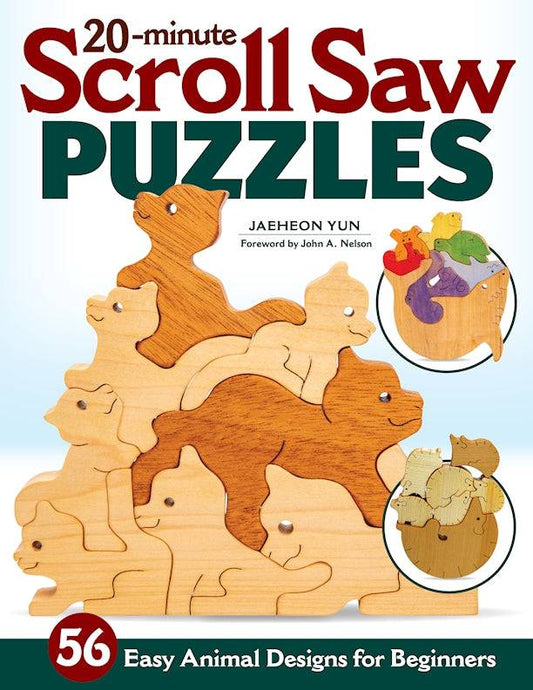
20-Minute Scroll Saw Puzzles 20-Minute Scroll Saw Puzzles 20-Minute Scroll Saw Puzzles 20-Minute Scroll Saw Puzzles
- Regular price
- $19.99 USD
- Regular price
-
- Sale price
- $19.99 USD
- Unit price
- per
Paperback / softback
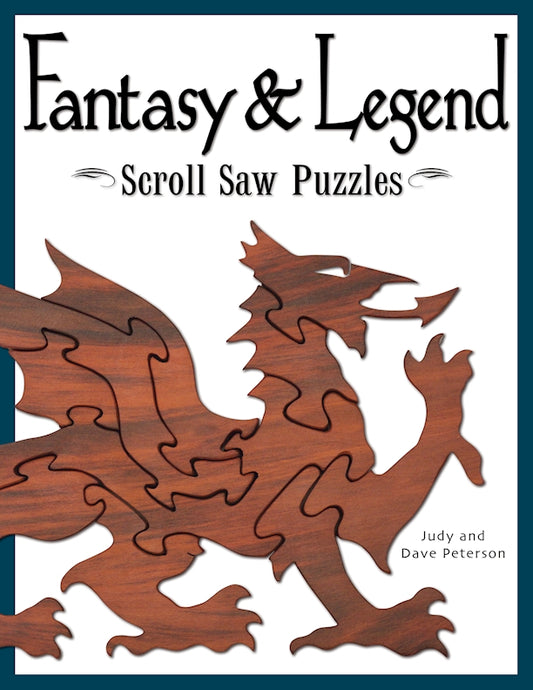
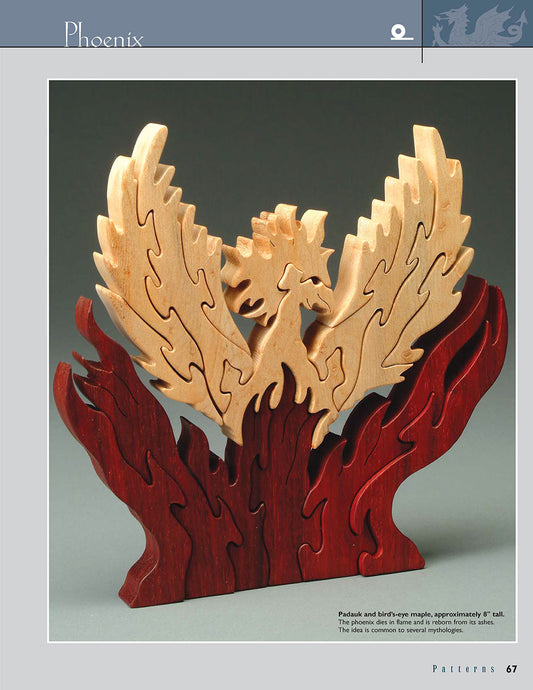
Fantasy & Legend Scroll Saw Puzzles Fantasy & Legend Scroll Saw Puzzles Fantasy & Legend Scroll Saw Puzzles Fantasy & Legend Scroll Saw Puzzles
- Regular price
- $14.99 USD
- Regular price
-
- Sale price
- $14.99 USD
- Unit price
- per
Paperback / softback
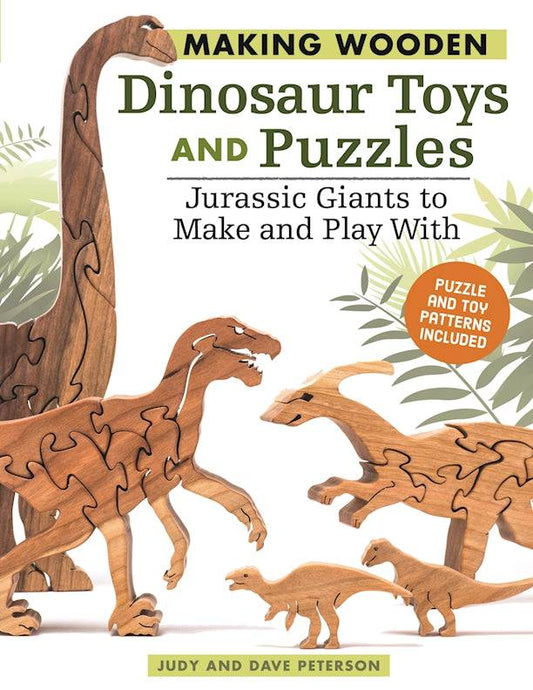
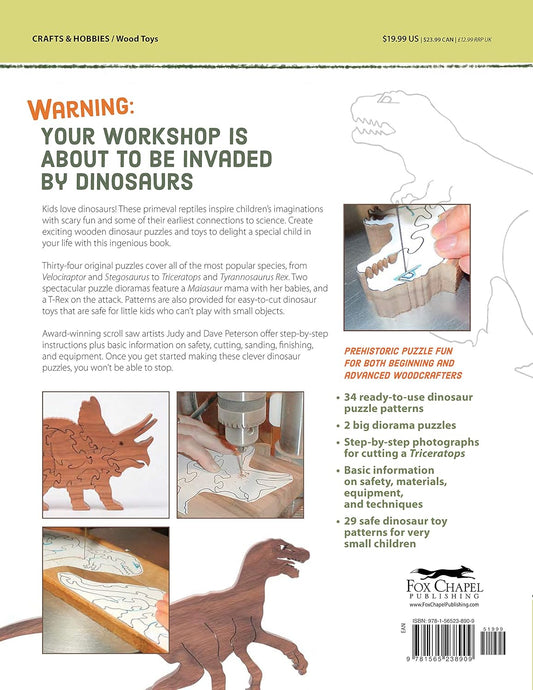
Making Wooden Dinosaur Toys and Puzzles Making Wooden Dinosaur Toys and Puzzles Making Wooden Dinosaur Toys and Puzzles Making Wooden Dinosaur Toys and Puzzles
- Regular price
- Regular price
-
- Sale price
- From $14.99 USD
- Unit price
- per

Paperback / softback
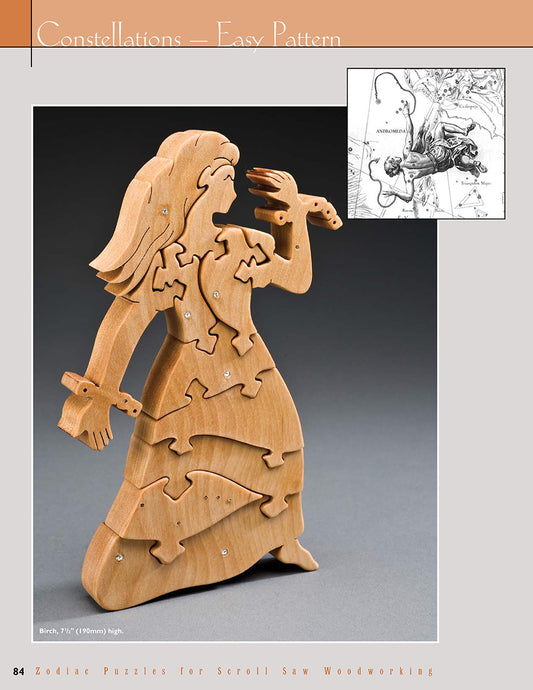
Zodiac Puzzles for Scroll Saw Woodworking Zodiac Puzzles for Scroll Saw Woodworking Zodiac Puzzles for Scroll Saw Woodworking Zodiac Puzzles for Scroll Saw Woodworking
- Regular price
- $17.95 USD
- Regular price
-
- Sale price
- $17.95 USD
- Unit price
- per
Paperback / softback
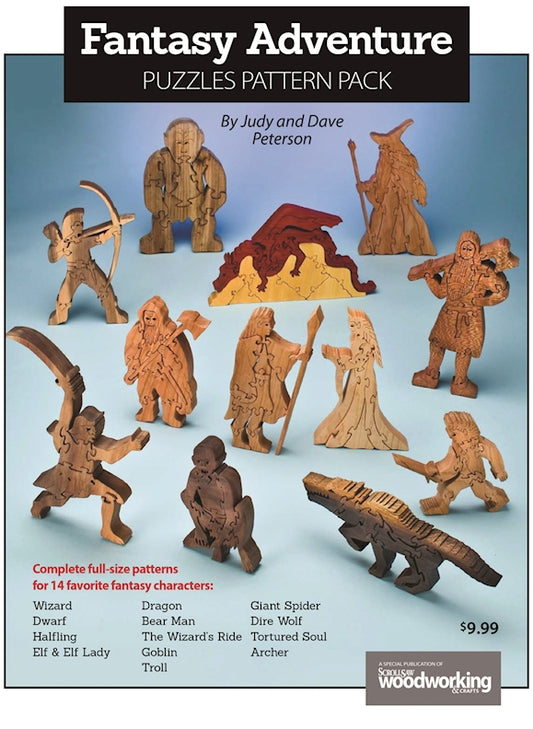
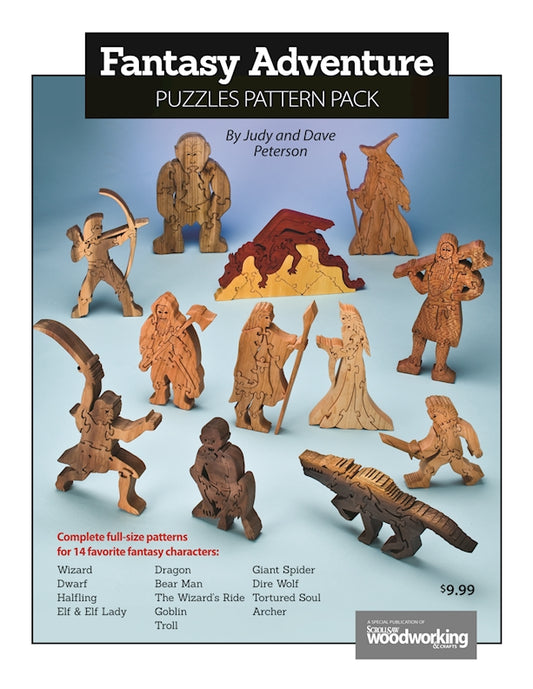
Fantasy Adventure Puzzles Fantasy Adventure Puzzles Fantasy Adventure Puzzles Fantasy Adventure Puzzles
- Regular price
- $9.99 USD
- Regular price
-
- Sale price
- $9.99 USD
- Unit price
- per