


Free Pattern: Chip Carved Ornament
By Bruce Nichols
Practice a new technique and add a special touch to your holiday ornament carving projected by piercing through the blank as you carve. This technique allows light to shine through the piece and gives ornaments a little something extra. Download your free wood carving holiday pattern below.
Cutting the Puzzle
Preparing the Blanks
While it’s possible to cut the pieces to their final shape after carving, it’s easier to cut the blank to size first. I usually mass produce blanks, and then transfer the pattern onto the project. To transfer the pattern, I usually draw directly on the wood with a soft B-lead pencil
Carving Safety
Holding a small thin blank safely can be a challenge. I created a jig to hold the blank as I carve, especially when I’m making the pierced cuts. Cut a piece of 3/8″ (10mm) thick plywood to 6″ (152mm) by 12″ (305mm), and cut two 1/2″ (13mm) by 1/2″ (13mm) by 3″ (76mm) cleats. Screw or nail the cleats to the plywood at a 90° angle to each other, with a small gap at the point to allow the chips to escape. Hold the carving against the cleats as you carve to keep the sharp blade away from your body.

Finishing the Ornaments
Erase any pattern lines and sand lightly to remove any smudges. Apply a thin coat of clear finish such as Deft. Paint the ornaments as desired; I use water-soluble wax crayons thinned with flow medium. Apply the paint with a #5 round brush and a #4 flat brush. Wipe up any slips with a damp cloth. After the paint dries, apply another coat of clear finish.
For a natural finish, add a few light coats of clear finish, but not enough so the finish looks glossy. Then, apply a tinted wax. I mix clear finishing wax with a small amount of brown wax, and apply it with a medium stiff brush. Remove the excess wax with the same brush. The wax imparts just enough color to accent the carved design.
Find More Holiday Patterns
-
 Media gallery

Chip Carved Christmas Ornaments
- Regular price
- $11.99 USD
- Regular price
-
- Sale price
- $11.99 USD
- Unit price
- per
Description
Description
Couldn't load pickup availability

Notified by email when this product becomes available
Chip Carving Collection
Browse our selection of puzzle titles.
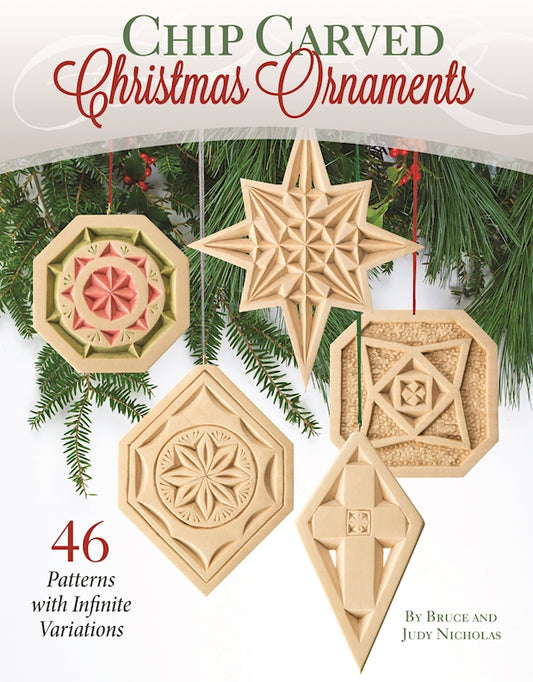
Chip Carved Christmas Ornaments
- Regular price
- $11.99 USD
- Regular price
-
- Sale price
- $11.99 USD
- Unit price
- per
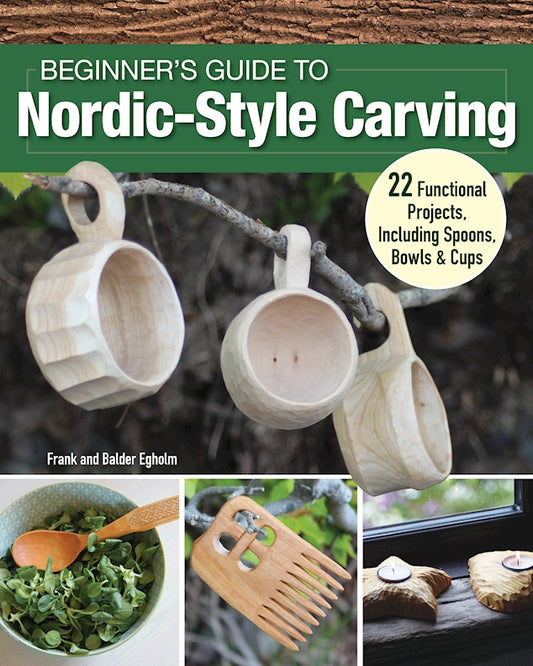
Beginner's Guide to Nordic-Style Carving
- Regular price
- $12.99 USD
- Regular price
-
- Sale price
- $12.99 USD
- Unit price
- per
Chip Carving (Best of WCI)
- Regular price
- $19.95 USD
- Regular price
-
- Sale price
- $19.95 USD
- Unit price
- per
Chip Carving Starter Guide
- Regular price
- $16.99 USD
- Regular price
-
- Sale price
- $16.99 USD
- Unit price
- per